How to transplant a fern - what kind of land and pot is needed
Content:
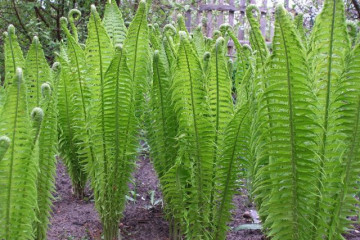
Indoor fern is a very popular plant among flower growers. It is often used to create interior decor. Perfect for decorating balconies, loggias, offices, living rooms, winter gardens. Growing a fern at home requires adherence to certain rules. The flower is unpretentious, but if the requirements for the composition of the soil are not met or the care is insufficient, the plant will not be able to take root.
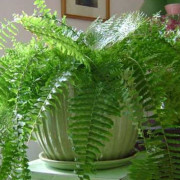
Indoor fern transplant
A home-grown fern requires regular replanting just like any other plant. The procedure should be carried out according to the rules, which include the selection of the right time and care after the transplant. Before starting the event, you need to prepare a suitable soil and pot.
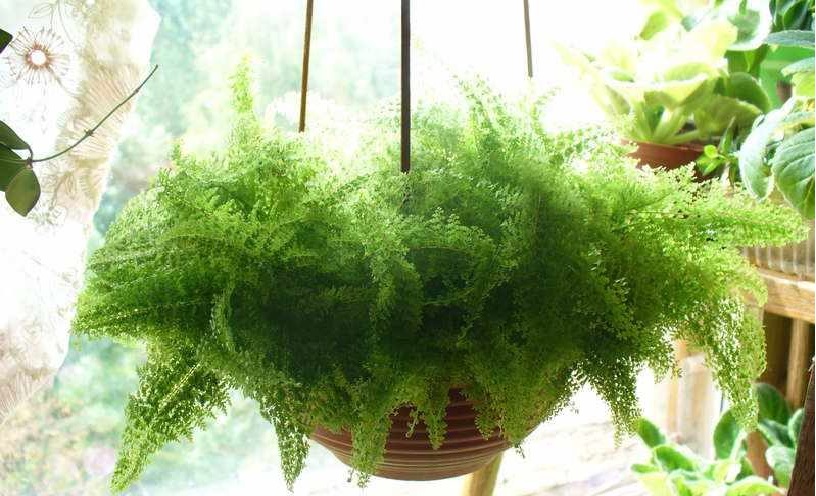
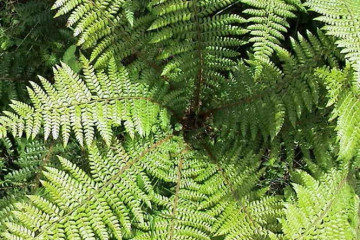
Growing a fern at home
There are several reasons why a plant transplant may be required. Most often this is necessary to improve his condition.
Why do you need to do this
A fern growing in an apartment is transplanted annually. The procedure is necessary so that the root system begins to grow as quickly as possible. In addition, the soil becomes scarce during the growth of the plant - over time, it must be replaced.
How to transplant indoor fern at home
The fern does not require special care, but a number of rules must be followed during the transplant process.
The procedure looks like this:
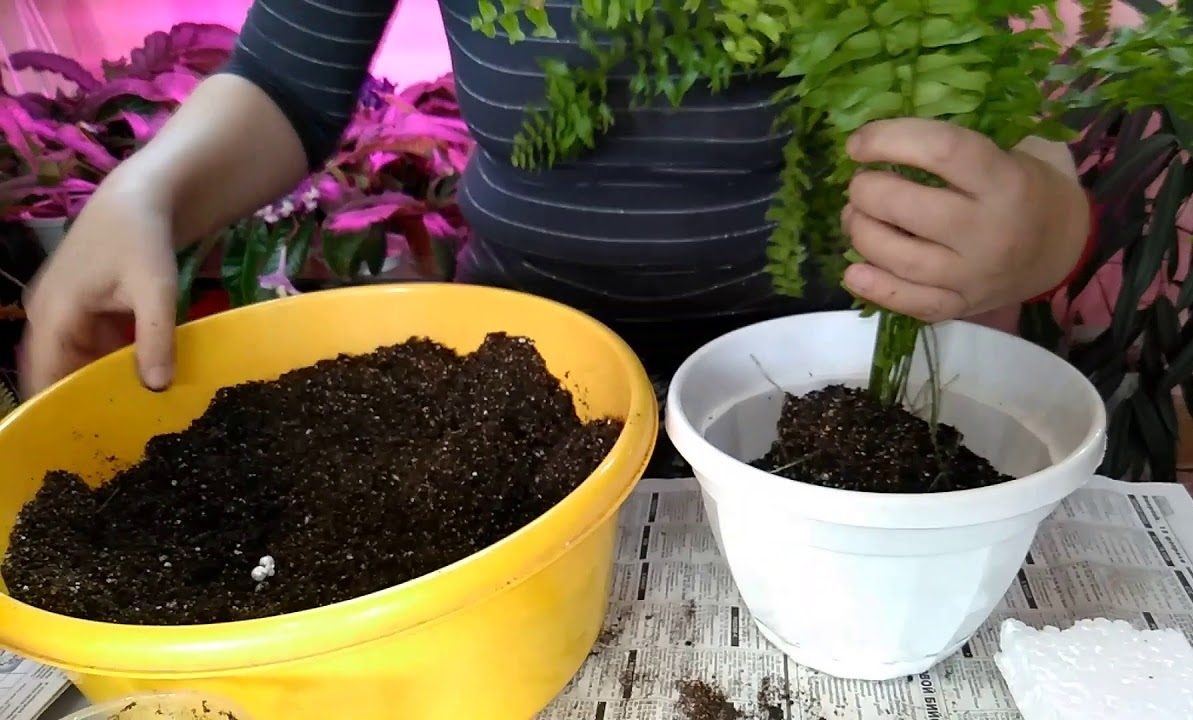
- The soil and the pot are being prepared.
- At the bottom of the tank, drainage is laid out in a layer of 2 cm; for this, expanded clay, gravel and small pebbles can be used.
- A layer of earth is poured onto the drainage from above and leveled over the entire surface.
- The seedling is located on the surface, the roots are carefully leveled.
- The roots are covered with earth.
At the end, the plant is watered with water at room temperature.
Fern planting rules
The transplant is useful for the fern not only in terms of rejuvenation, but also for reproduction. You can plant a flower in three ways:
- disputes;
- dividing the bush;
- growing seedlings.
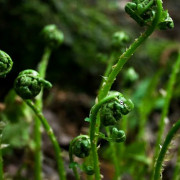
Transplant procedure
It is important to note that it is impossible to grow a fern from a dispute at home. The most suitable way is to divide the bush.
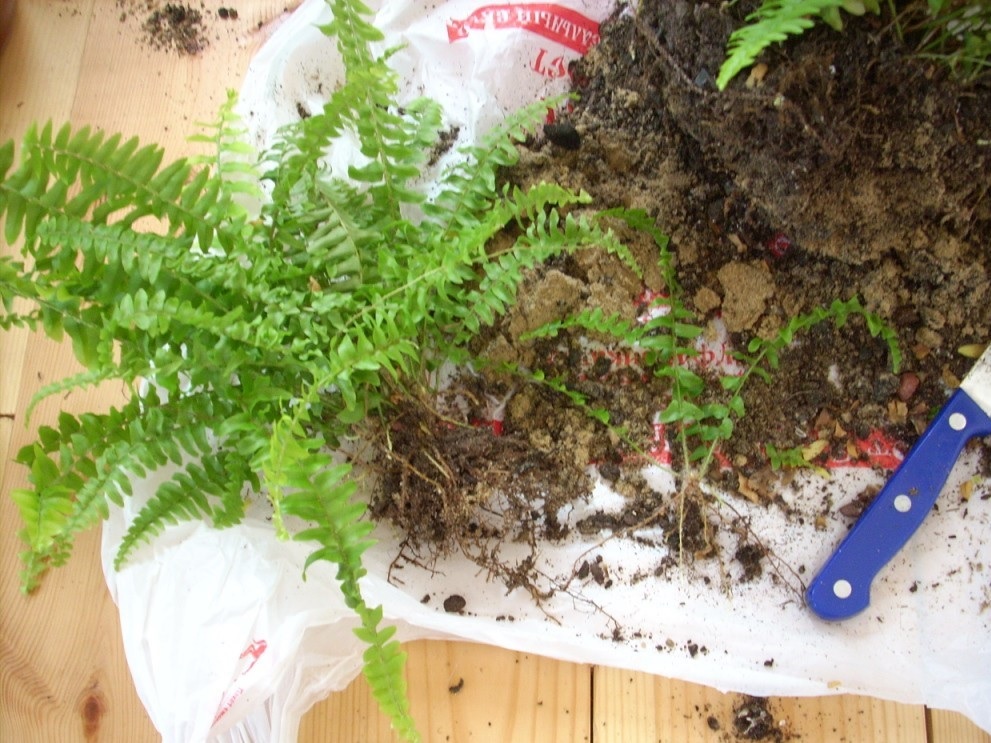
Step-by-step instructions on how to plant a fern at home is as follows:
- The plant is removed from the flowerpot, looking for a separate rosette with leaves, which is located next to the roots.
- The sprout is cut off with a knife, capturing part of the plant.
- Landing is carried out according to the standard scheme
The rooting process is very slow, and therefore young seedlings often die.
When can you transplant a fern
In order for the procedure to be painless for the plant and bring results, it is important to know when to transplant the garden fern, as well as indoor.
The most optimal time is spring.The plant will have ample time to root before winter.
Plant preparation
Since planting a fern without stress is very difficult for him, you need to properly prepare. To complete the procedure, you need to put the flower pot in a container of water and wait until the soil is completely wet.
You can then easily pull the fern out of the old soil. You need to carefully examine the root system. If there are individual dead areas, they need to be trimmed. After that, the earth is completely washed off from the roots, rotten parts are removed. At the end of the procedures, the plant is ready for transplantation.
Before transplanting, remove all damaged areas of the roots.
What land is needed for a flower
Special requirements for transplanting are imposed on the quality of the soil. The soil for indoor fern should be enriched with nutrients and minerals, in a fraction of fine, light and breathable. In addition, the acidity level plays an important role. Fern soil should be acidic.
The optimal composition of the soil should contain:
- deciduous soil;
- humus;
- coarse sand;
- coniferous land;
- remnants of peat.
What pot is needed for indoor fern
The roots of the flower will grow without problems, they will not rot and deteriorate if you pick up an earthen pot.
Even if a florist wants to buy a hanging planter, you need to choose it from clay. The material perfectly absorbs excess moisture. This will help avoid excess water.
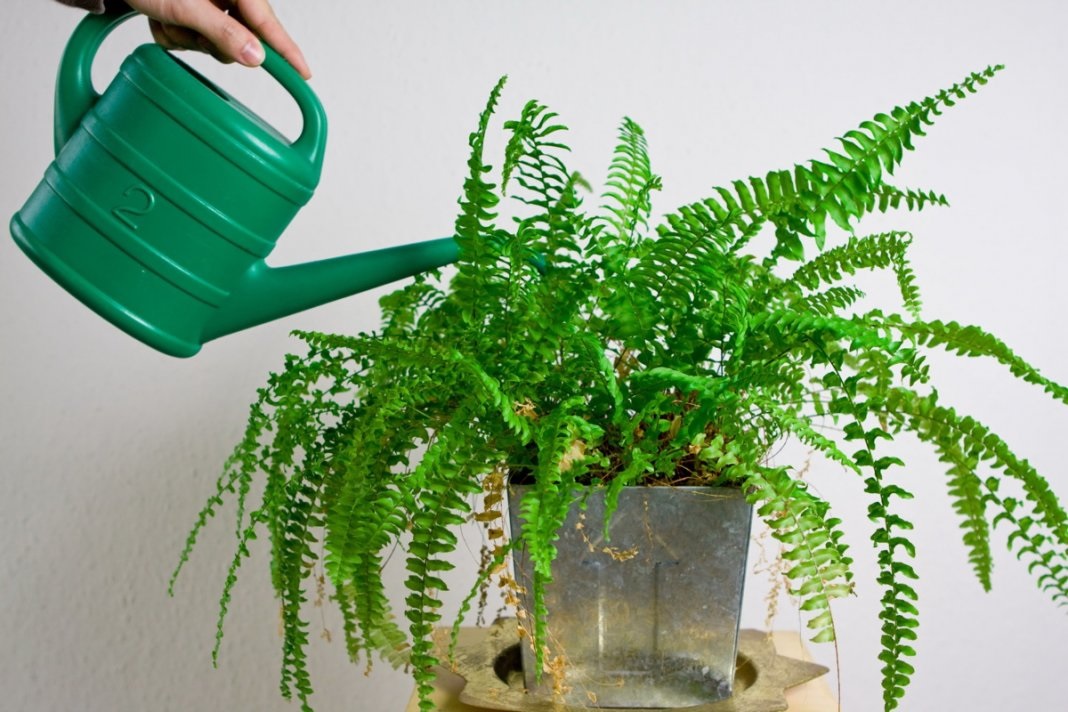
Watering and fertilizing the fern after transplanting
After completing the transplant, it is important to monitor the correct watering. It is impossible for the earth to dry out. It is necessary to irrigate the soil as soon as the topsoil dries up. But it is impossible to flood the flower too much, as this is detrimental to the roots - they will begin to rot. You need to water the plant only with settled water.
Special attention should be paid to the level of humidity in the room. The air must not be dry. This can provoke the development of diseases and the attack of the plant by pests. It is recommended to spray the leaves of the plant at least once a week. You can put a container of water near the fern so that the moisture evaporates and increases the humidity in the atmosphere around.
The soil needs to be fed every three weeks. Mineral complex fertilizer is suitable for this. It is best if it contains a high potassium content. The use of such fertilizers will give the flower strength and accelerate its growth.
The plant needs thorough hydration
How and when to transplant a fern from the forest
If the florist decides to plant a flower from the forest in his country house, you need to observe the transplant time.
The procedure can only be performed in the spring. Over the summer, the sprout will have time to take root, strengthen and prepare for the dormant stage. If the plant was transplanted in the fall, it has little chance of surviving the first frost.
What to do if, after transplanting, the flower begins to dry out
After transplanting, the plant requires more careful care within a month. A weakened sprout is very susceptible to disease, it can suffer from pest attacks. If not properly cared for, it can lead to complete or partial drying out.
Main reasons
There may be several factors that affect the drying of a plant. The phenomenon can be observed for the following reasons:
- the flower is very old and is already dying due to its age;
- the plant is affected by pests or infected with a disease;
- the irrigation regime is broken;
- improperly selected soil for the plant;
- rotting of the root system occurs.
It is important to determine the cause as quickly as possible and take action to correct the problem.
How to save a plant
The flower can be brought back to life by starting treatment as soon as symptoms appear. Rescue methods depend on the cause of the development of the problem:
- if a fern dies due to an attack by parasites, chemical treatment must be carried out;
- in case of rotting roots, you need to remove the flower from the pot, cut off the damaged areas and transplant into new soil;
- normalize the irrigation regime and air humidity.
If the leaves were eaten to dry for several reasons at once, you need to approach the issue in a comprehensive manner.
Proper care of a forest bush, competent pruning, adherence to the rules of planting and transplanting, will make it possible to enjoy a wonderful ornamental plant on your windowsill.