Gloriosa peas - growing peas at home
Content:
Green peas have been familiar to mankind for more than 5000 thousand years. It was first planted in China. In our time, a large number of different varieties have been bred. One of the popular hybrids is Gloriosa peas.
Gloriosa pea variety
This pea variety is very popular with gardeners. Due to its advantages, it is so loved by many farmers. In most regions of Russia, annual varieties are grown. Gloriosa peas belong to them.

Gloriosa peas (packed with seeds)
Gloriosa sugar peas - variety description:
- The variety belongs to the asparagus (pod) sugar varieties of the crop.
- The hybrid is mid-season.
- The ripening period of the pods is from 55 to 60 days.
- The plant can also be grown in the house, but this will require a spacious container.
We recommend storing seeds in a cool, dark place, such as a refrigerator. The optimum sowing depth of seeds is 4-5 cm. The distance between them should be left about 15 cm.
Before planting, check the expiration date of the seeds. If the planting material is stored for more than 3 years, then germination is likely to be low.
Even when cultivated in pots on a windowsill, the yield is very good. If you plant a crop in the garden, then from 1 sq. m. it will be possible to collect up to 500 grams of harvest.
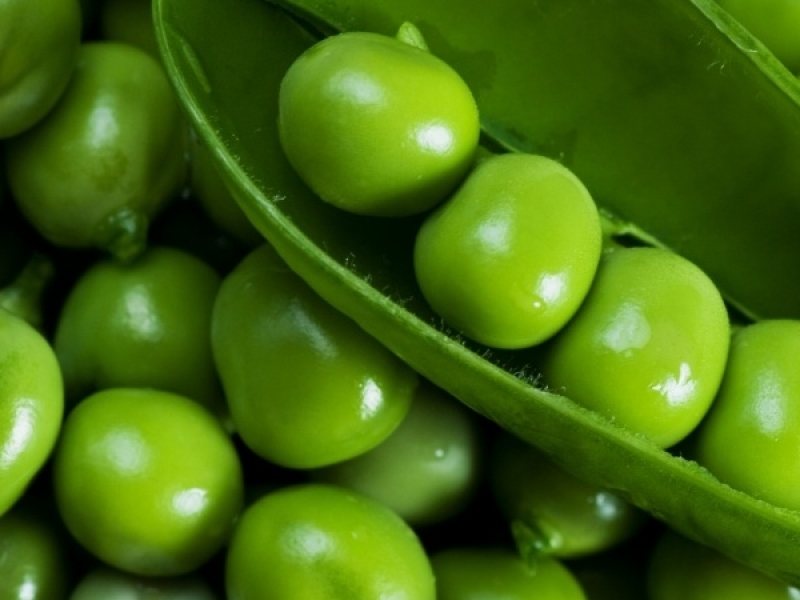
What ripe pods look like
How and when to plant Gloriosa sugar peas
It is possible to grow Gloriosa vegetable peas equally successfully both on the site and at home. The main thing is to know all the nuances of these two types of planting.
In both methods, the first thing to do is germinate the seeds. Germinating planting material is not difficult.
Pea seed germination process:
- The first thing to do is to pickle the planting material. This will require fungicidal preparations. For example, Sinclair or VSK. This measure will avoid the occurrence of fungal diseases.
- After that, the seeds are treated with growth activators. Boric acid has an effective effect on germination. 2 g of boric acid must be diluted in 10 liters of water. Place the seeds in the solution and leave them for 5-7 minutes.
- The final stage is placing the seeds in a dark, warm place. The seeds can be laid out on wet gauze or left in a glass with a little water. They will not germinate for long. Usually, small sprouts appear on day 2. After they hatch, you can start planting in the ground.
Sprouted seeds must be planted very carefully. The sprouts are fragile and can break with any wrong movement. If this happens, then the seed will no longer give a new sprout.
You need to start germinating seeds in mid-March - early April. In open ground, seedlings can be transplanted closer to May, when the heat is established. The soil should be heated 15 cm deep.
How to grow peas at home on a windowsill
Growing peas at home for food is not an easy task.For the active growth of the plant, a large, spacious container will be required.
Preparing for landing:
- The planting container must be deep. At the bottom, drainage holes are required. Small peat pots are suitable for picking. In spacious containers, seedlings will develop slowly.
- The second important point is the preparation of the substrate. The soil can be used both from the garden and ready-made soil mixture from the store. Novice gardeners should know that if soil from the site is used, it must first be etched.
There are several ways to disinfect the soil. The first is to water the ground with a solution of potassium permanganate. The second way is to heat the soil in the oven. You can also pour boiling water over the soil, then cover the ground with a bag until it cools.
How to plant peas at home:
- Fill the bottom of the pot with fine drainage. Then fill it with soil.
- Beans should be stacked sprouts down.
- Sprinkle soil over the seeds. Water abundantly.
- Then cover the container with cling film and put it on the windows from the sunny side.
- The film must be removed regularly to water the soil and allow it to breathe.
- When sprouts appear, the film is removed.
You need to transplant peas into large pots after two pairs of full-fledged leaves appear.
Features of care when growing at home
Peas begin to bloom about 30-40 days after planting. The first ripe pods will begin to appear 1.5-2 weeks after flowering. In order for the harvest to be good, you need to follow the rules for the care of the crop.

Growing peas at home
- The optimum temperature is +17 .. + 25 degrees. At temperatures above +25 degrees, the inflorescences become sterile.
- The plant must be exposed to light for at least 12 hours a day. If the peas are grown in winter, consider adding extra lighting in the evenings.
- The soil is watered as it dries. Usually 2-3 waterings per week are enough.
- Top dressing is applied 2 times a month. It is better to use complex mineral fertilizers.
As soon as the bushes grow 10-15 cm, they will need support.
Growing peas on the site
It is necessary to transplant seedlings into open ground after the heat is established outside. The optimal planting time is the beginning of May. It is important to choose a suitable site. It should be well lit. It is recommended to plant a crop on a fertile, slightly acidic soil.
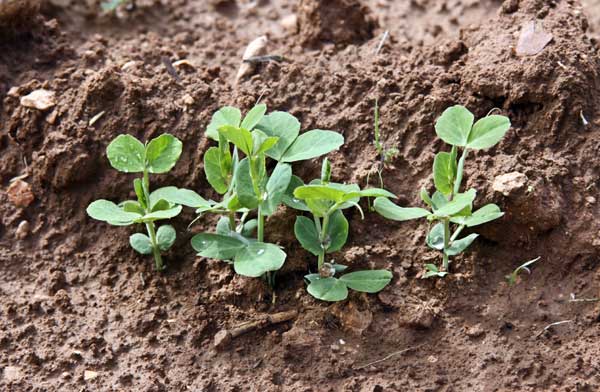
Pea seedlings
Step-by-step process of planting peas on the site:
- To plant seeds directly on the street, you first need to prepare the soil. It is best to do this a few weeks before the intended planting of seeds.
- They dug up the area for the peas, pull out all the weeds. Then rotted manure can be added to the soil. If the spring is cold, saltpeter is added to the soil instead of manure.
- The dug area must be left for a week. Before planting, weed it again and remove weeds.
- Several grooves need to be made. The distance between them should be 10-15 cm. The distance between the seeds is about 4-7 cm.
- The planted planting material is lightly sprinkled with soil and watered abundantly with water.
In the process of growing beds with peas, you need to regularly weed and pull out weeds.
Peas on the site
Outdoor pea care
As well as at home, in the open field, the culture must be looked after. Watering is carried out as the soil dries up. Water heated in the sun is used for irrigation. If you water the beds with ice water, then the plants can become infected with fungal diseases.
It is also important not to forget to fertilize:
- Enough two dressings per month.
- During the emergence of seedlings, the beds are watered with infusion of nettle and dandelion.
- During flowering, the culture is watered with nitrophos. 1 tbsp. l. must be diluted in a bucket of water. For 1 sq. m. will require 5 liters of fertilizer.
- Several times during the season, the beds can be watered with manure diluted in water or bird droppings.
When growing peas, you can face such a problem as poultry. They love to feast on ripe peas and can destroy the entire crop, so you need to know how to scare them away from the site.
For example, you can hang discs around the area. They reflect the rays of the sun and the birds are afraid of bright glare. Another way is to cover the bushes with a fishing net or spunbond.
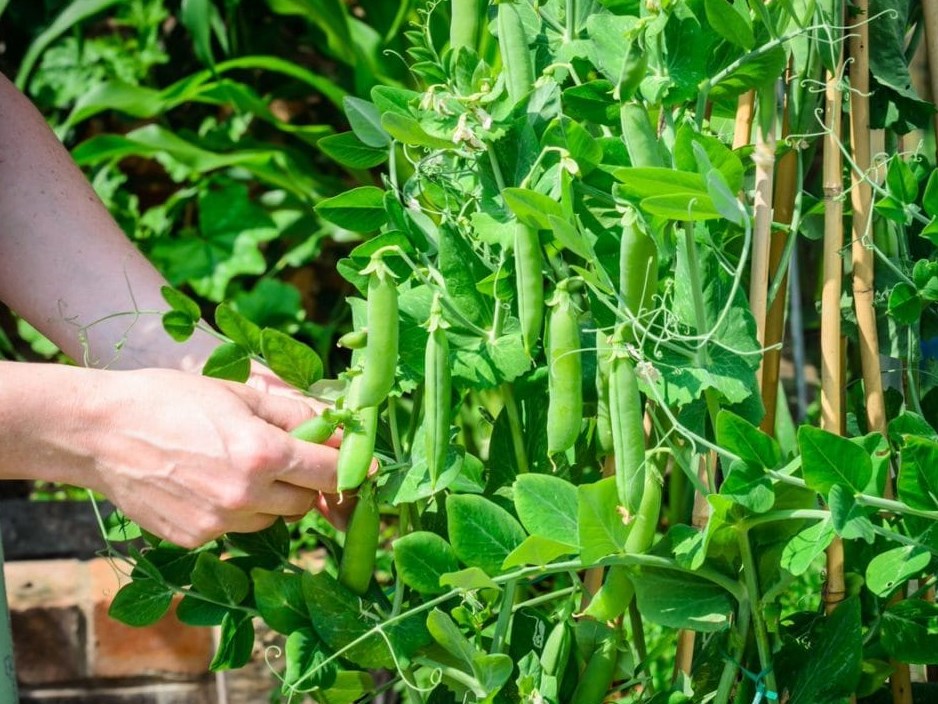
Harvesting
Peas bloom gradually, so harvesting can take 1-1.5 months.
For food, you can collect peas as they ripen. If you plan to use the crop for rolling peas or green pods, then they should be harvested a little earlier than full maturity.
In the event that it will be used for drying, it is better to collect it later.
Gloriosa peas are a versatile variety that is equally well suited for planting at home on a windowsill and on a plot. The variety is not capricious, not demanding in care. Yields are good with minimal effort.