Gloxinia from seeds at home - how and when to sow
Content:
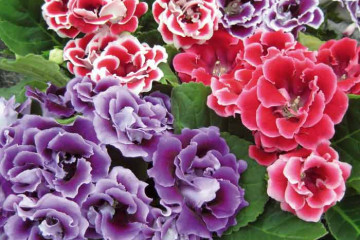
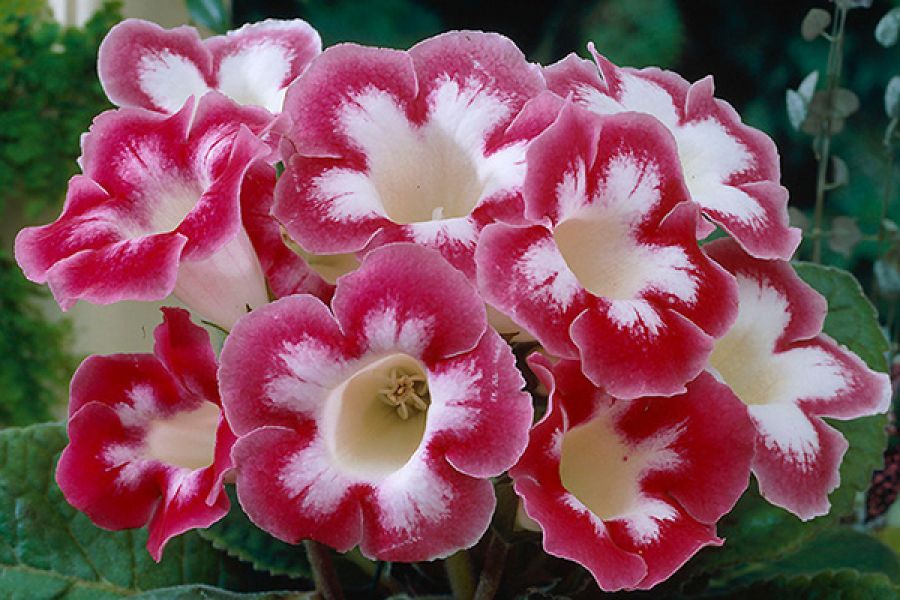
You can decorate the house with small flowering gloxinia bushes. A simple planting and breeding method allows you to independently collect seeds and grow seedlings. At the same time, the appearance and other characteristics will be no worse than that of the purchased copy.
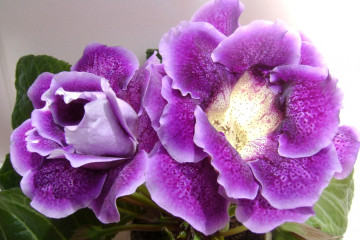
Gloxinia from seeds at home
The culture has an attractive appearance, for which it is appreciated by flower growers. Growing gloxinia from seeds at home does not require special devices. You can breed new varieties on your own by cross-pollination. You can plant ready-made seedlings in a flowerpot or on a street flower bed.
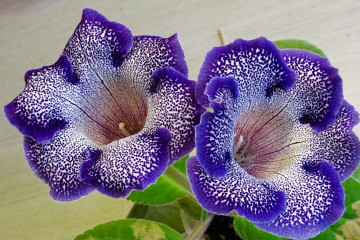
Growing gloxinia
How to get seeds
To get the "author's" gloxinia seeds, you first need to pollinate the flower at home. Then wait for the seed box to ripen and collect the ready-made seeds.
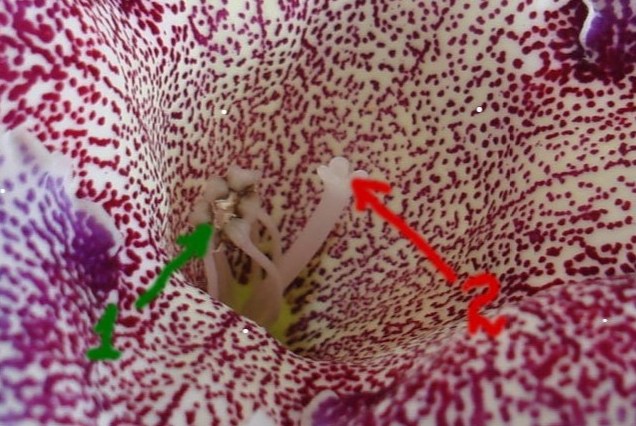
Flower reproduction organs - pistil and stamen
How to get gloxinia seeds at home using the pollination method:
- First you need to examine the bud of the opened flower. Inside it are a pistil and a stamen. These flower organs are needed for pollination.
- After the bud opens, the top of the pistil (stigma) becomes sticky, which means it's time to start pollination.
- On the 6th day after the opening of the bud, the stamens also ripen. An anther opens in their upper part. Pollen starts to be released.
- Fertilization occurs when pollen hits the sticky top of the pistil. An ovary is formed, which then develops, and seeds are obtained.
Self-pollination and cross-pollination can occur in Gloxinia. In the first case, pollen within one flower falls on the stigma of the same bud. The result is a seed of the same variety as the plant itself.
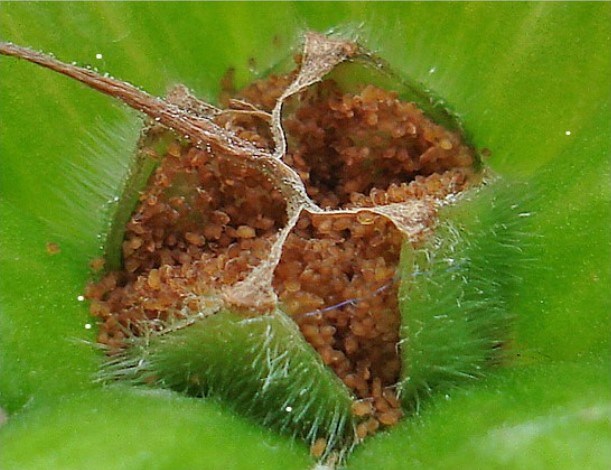
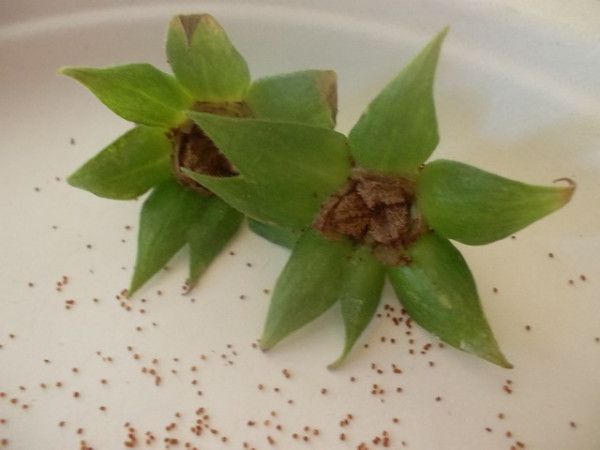
Seed capsule
Collection and timing of sowing gloxinia seeds
After any type of pollination in place of the flower, the seed pod ripens in 6-8 weeks. After the specified period, it begins to crack. As soon as this happens, you need to immediately cut off the container with seeds from the peduncle and put it on a piece of paper. In turn, the leaf with the harvest should be placed in a dark place for full ripening.
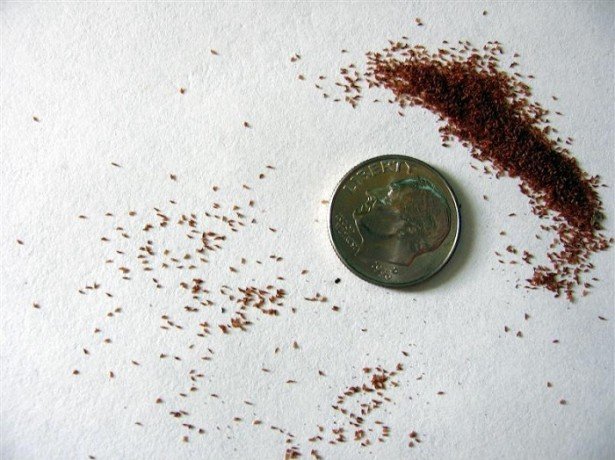
Open box with seeds
Gloxinia seeds will fully ripen 4 days after the boll is removed from the peduncle. The finished planting material is brown seeds. This is a signal that you can start sowing.
Plant seeds
Sowing seeds is best in mid - late March, but you can do this at the end of January. Winter sowing is possible only if there is a phytolamp, which must be installed above the sowing pot.
Planting gloxinia seeds
When sowing gloxinia with seeds, the plant sprouts without any problems. But for this you need to meet some conditions:
- prepare the correct substrate;
- prepare seeds;
- properly lay the planting material;
- create conditions for the growth and development of sprouts.
If everything is done correctly, the seedlings will be ready for planting at the right time.
How to prepare the soil for planting
It is possible to grow high-quality seedlings from seeds, subject to the availability of a suitable substrate. Features of container preparation:
- Take a box 5-8 cm high and a piece of glass that will cover the entire area of the container.
- Fill the bottom of the box with a layer of expanded clay. It is enough to fill the container with this material by 1 cm.
- Peat mixture should be poured over the expanded clay. Its layer should be about 2 cm.
- Then the soil is well moistened with a spray bottle.
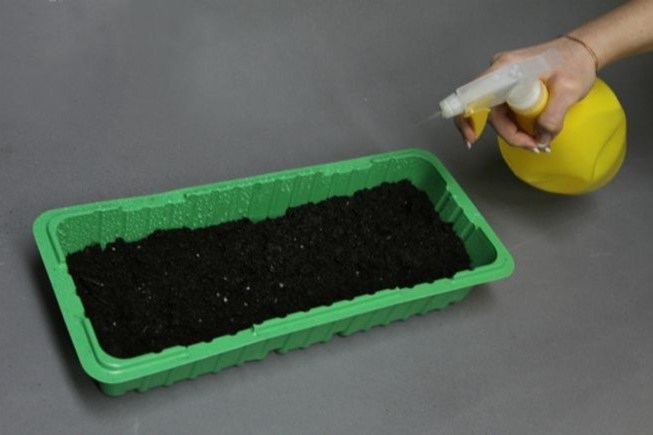
Soil preparation
Planting procedure step by step
Correct seed placement guarantees good germination. Step by step seeding algorithm:
- The seeds must be soaked in a special solution to accelerate growth.
- Transfer the material to a paper towel and wait until it dries completely.
- Place the seed on a piece of paper. Bend the canvas in half lengthwise and distribute the seeds evenly over the surface of the substrate.
- You do not need to sprinkle them with soil. It is enough to spray the surface well again with water. Each seed will fall into the ground by itself to the required depth.
- From above, the container needs to be covered with glass and provide round-the-clock illumination. Cultivation is carried out without airing, so it is not worth lifting the glass.
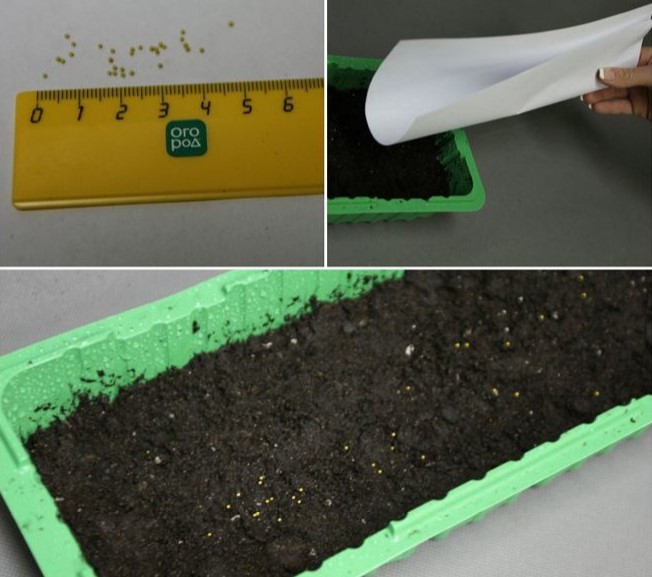
Seed placement
Watering rules and humidity
After about 1 week, the first shoots of gloxinia will begin to appear. You can remove the glass and remove the phytolamp. Now the main task is to constantly spray the sprouts with a spray bottle. For normal cultivation, it is enough to do this irrigation every 3 days. This will maintain a suitable moisture for the plant.
Top dressing and soil quality
Initially, you need to sow seeds in a peat mixture that is rich in nutrients. Then they make 3-4 picks of the plant (and the container changes the same number of times). Each time a new substrate is used, so there is no need to feed the plants. The first feeding is done 40 days after the last transplant. To do this, you can use complex fertilizers in the amount specified in the instructions.
Seedling care
During the cultivation of gloxinia in the seedling stage, it is enough to periodically water the plant, dive it in a timely manner and, if necessary, organize lighting.
How to properly care for gloxinia:
- Watering should be done only from a spray bottle. It is desirable to maintain constant humidity.
- If the leaves of the seedlings begin to fade, it is worth installing a container under the phytolamp. A few days are enough for the aboveground part to return to normal.
- A pick is made every 14-20 days. Each time, the number of seedlings in the container decreases.
These manipulations are enough to grow full-fledged seedlings for individual planting.
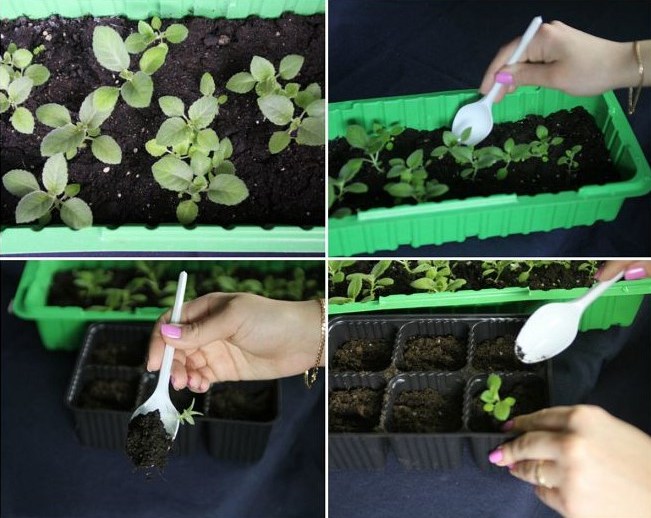
Plant pick
Transplanting gloxinia in the spring
Breeding gloxinia has its own characteristics in terms of frequent picks. But at a certain point, when the plant reaches an age of 10 weeks, you can transplant the bush into an individual flowerpot. Only after this will the plant be able to fully develop and bloom.
Procedure:
- A peat substrate is placed in an individual pot, and gravel is placed on the bottom.
- Seedlings are removed from the old container using a spoon. An earthen lump should remain on the root system.
- The soil must be well moistened, a small hole must be formed.
- Place the root of the plant in the recess and, sprinkling the tuber on top a little, tamp the soil.
- Moisten the soil again with a spray bottle.
Gloxinia bush after transplant
Gloxinia are considered quite popular plants that are planted in flower beds in open ground and in indoor flowerpots. Important conditions for growing a plant from seed are proper watering and good lighting. Seedlings need to be constantly dived until the bush becomes full.