Gloxinia flower - reproduction at home
Content:
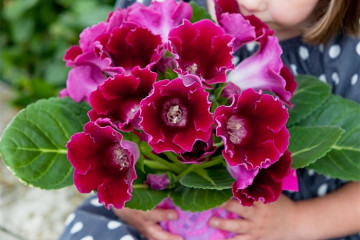
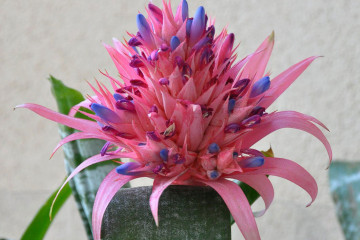
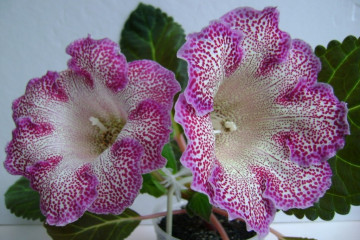
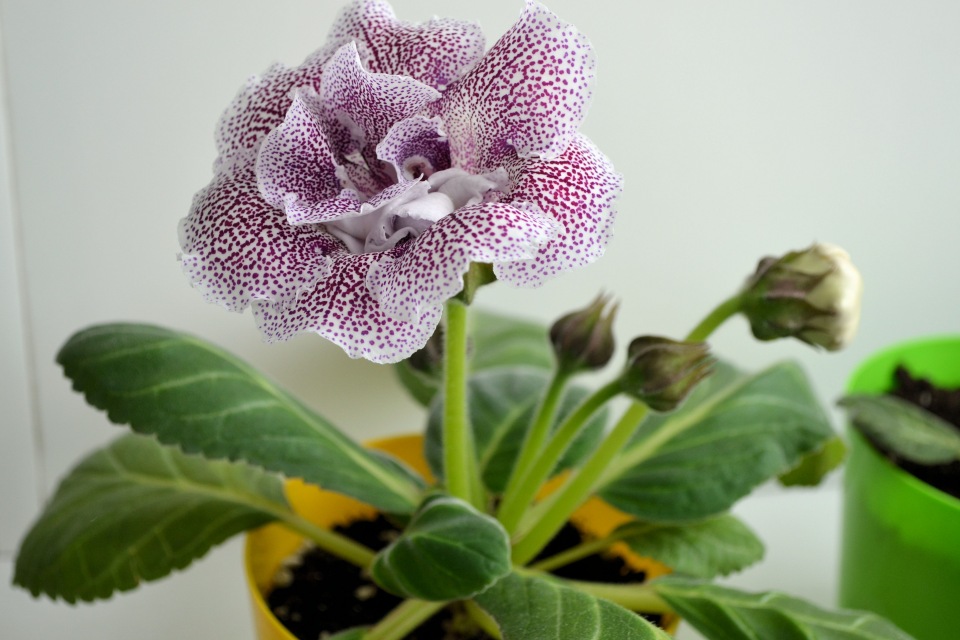
Gloxinia belongs to the beautiful indoor plants that can delight any lover of green crops. A bright delicate flower will surely attract the attention of not only the owner, but also the guests of the house. There are a large number of methods for the reproduction of gloxinia, they will be discussed below.
Comparison of ways to propagate gloxinia
Before growing a crop, it is worthwhile to get acquainted with the various options for the breeding process and choose the most suitable path. There are several options for breeding gloxinia:
- fragments of leaves;
- seeds;
- peduncles;
- leafy cuttings;
- division of the tuber.
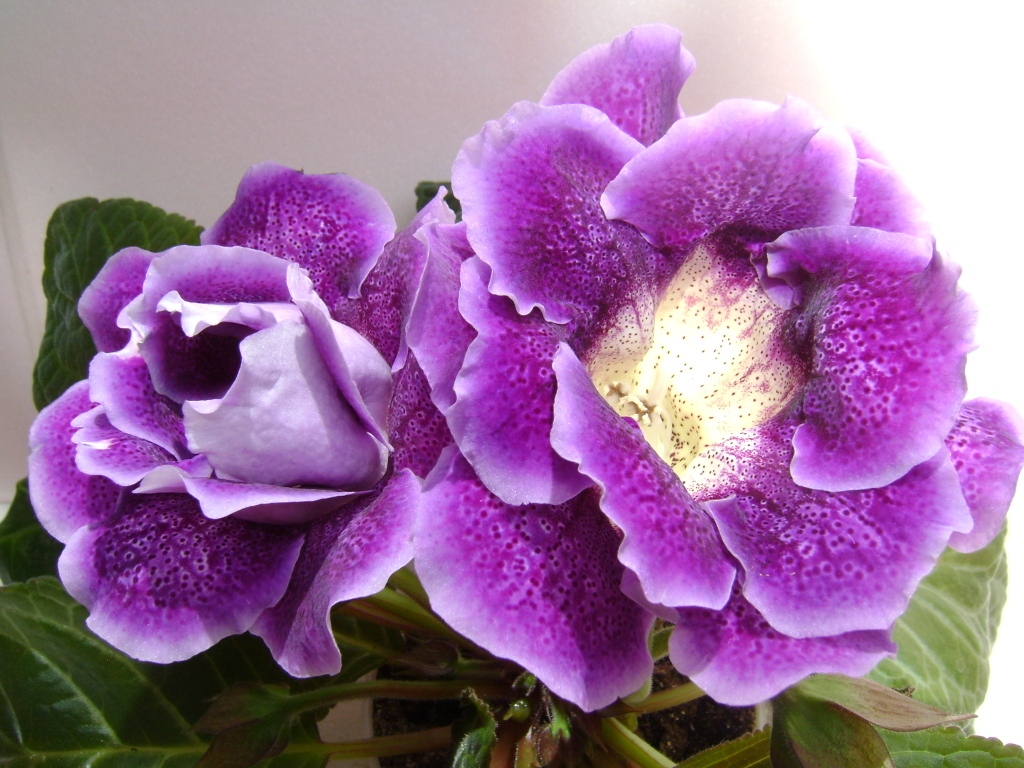
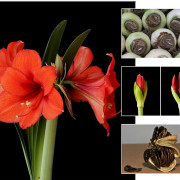
Gloxinia, appearance
Using leaf fragments to create a new plant has its pros and cons. More powerful tubers are obtained from a whole leaf in a short time, but a lot depends on whether the leaf takes root or not. The fragmented version involves obtaining a larger number of growing plants, if one does not take root, then the second or third will surely survive. This technique is more time-consuming, but allows you to get more plants at the output. If we compare the method with obtaining gloxinia from seeds, then the first option allows you to preserve all varietal characteristics.
The seed method is not the easiest way to grow a green crop. The point here is not only in the small size of the seed and the difficulties of its germination, but also in the fact that the sprouts that appear need careful care.
A significant disadvantage of cultivating a plant through peduncles is the moment that some varieties take root very well, while others do not take root at all. Before using this option, you need to carefully select the variety.
Gloxinia peduncles
The most common and easy way is to propagate gloxinia by leaf cuttings. Better rooting and more vitality in plants that appeared in spring or early summer, therefore, it is better to choose these flowers to get a new culture.
Tuberous technique refers to difficult and risky breeding options. If the material starts to rot or dry out, then the plants will not take root. In addition, cut tubers have a long recovery and acclimatization period.
Choosing a pot for growing
Large apical cuttings are chosen for planting, which means that the container for planting must be taken of a suitable size. The ideal option is a pot with a diameter of 9 cm. It is imperative to make a good drainage system 2 cm thick, pour light loose earth on top that will pass water and oxygen well.
For those who prefer to use the leaves for propagation, it is recommended to put the cutting in water until the root system is formed. Then the shoot is transplanted into a peat tablet or pot with a diameter of 10 cm. The soil mixture should be light.
Tubers are advised to be planted initially in transparent plastic containers. Such material allows you to monitor the growth of the root system. If the plant develops well, then after a while it is transplanted into a pot with a diameter of 10 to 15 cm.
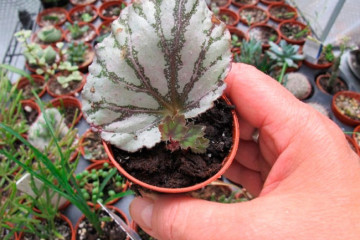
Reproduction of gloxinia by leaves and leafy cuttings
How to propagate gloxinia with a leaf at home? This technology is worth talking about in more detail. There are two options here: in land and in water.
Rooting leaves in the ground
To get a new plant, it is enough to cut off one leaf and plant it directly in fertile soil. The leaf plates do not need a strong deepening, the main thing is that the end of the cutting is sprinkled with soil to a depth of about 1 cm.It is important to remember that the soil must be moistened after planting.
The soil is watered, then the container is covered with plastic wrap or glass containers of a suitable size to create greenhouse conditions. The protection is removed after the first shoots appear.
This is one of the options for planting gloxinia with a leaf.
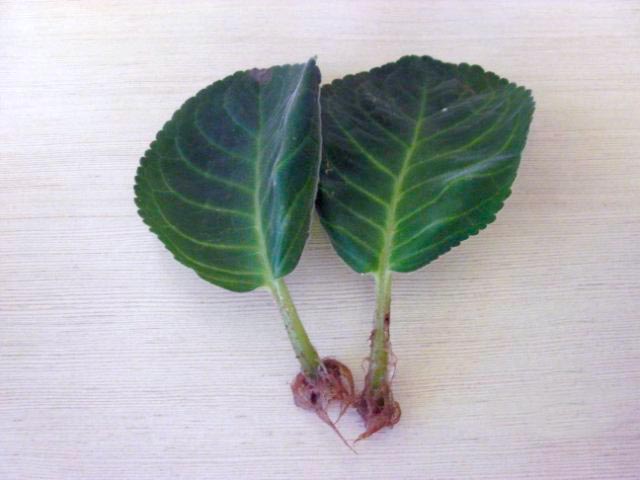
Rooting leaves in water
This technology involves performing a number of sequential actions:
- Examination of the mother flower in order to select strong, large, healthy leaves.
- The water should be filtered, settled and at room temperature.
- Using a sharp knife, the selected leaves are cut so that small cuttings - legs remain.
- The sheet plate is placed in a container with water. The liquid should not reach the leaf itself, otherwise the decay process will begin.
- It remains to wait until the roots or tubers appear, then plant it in the ground.
While the plant is in the water, make sure that the liquid in the bottom does not dry out.
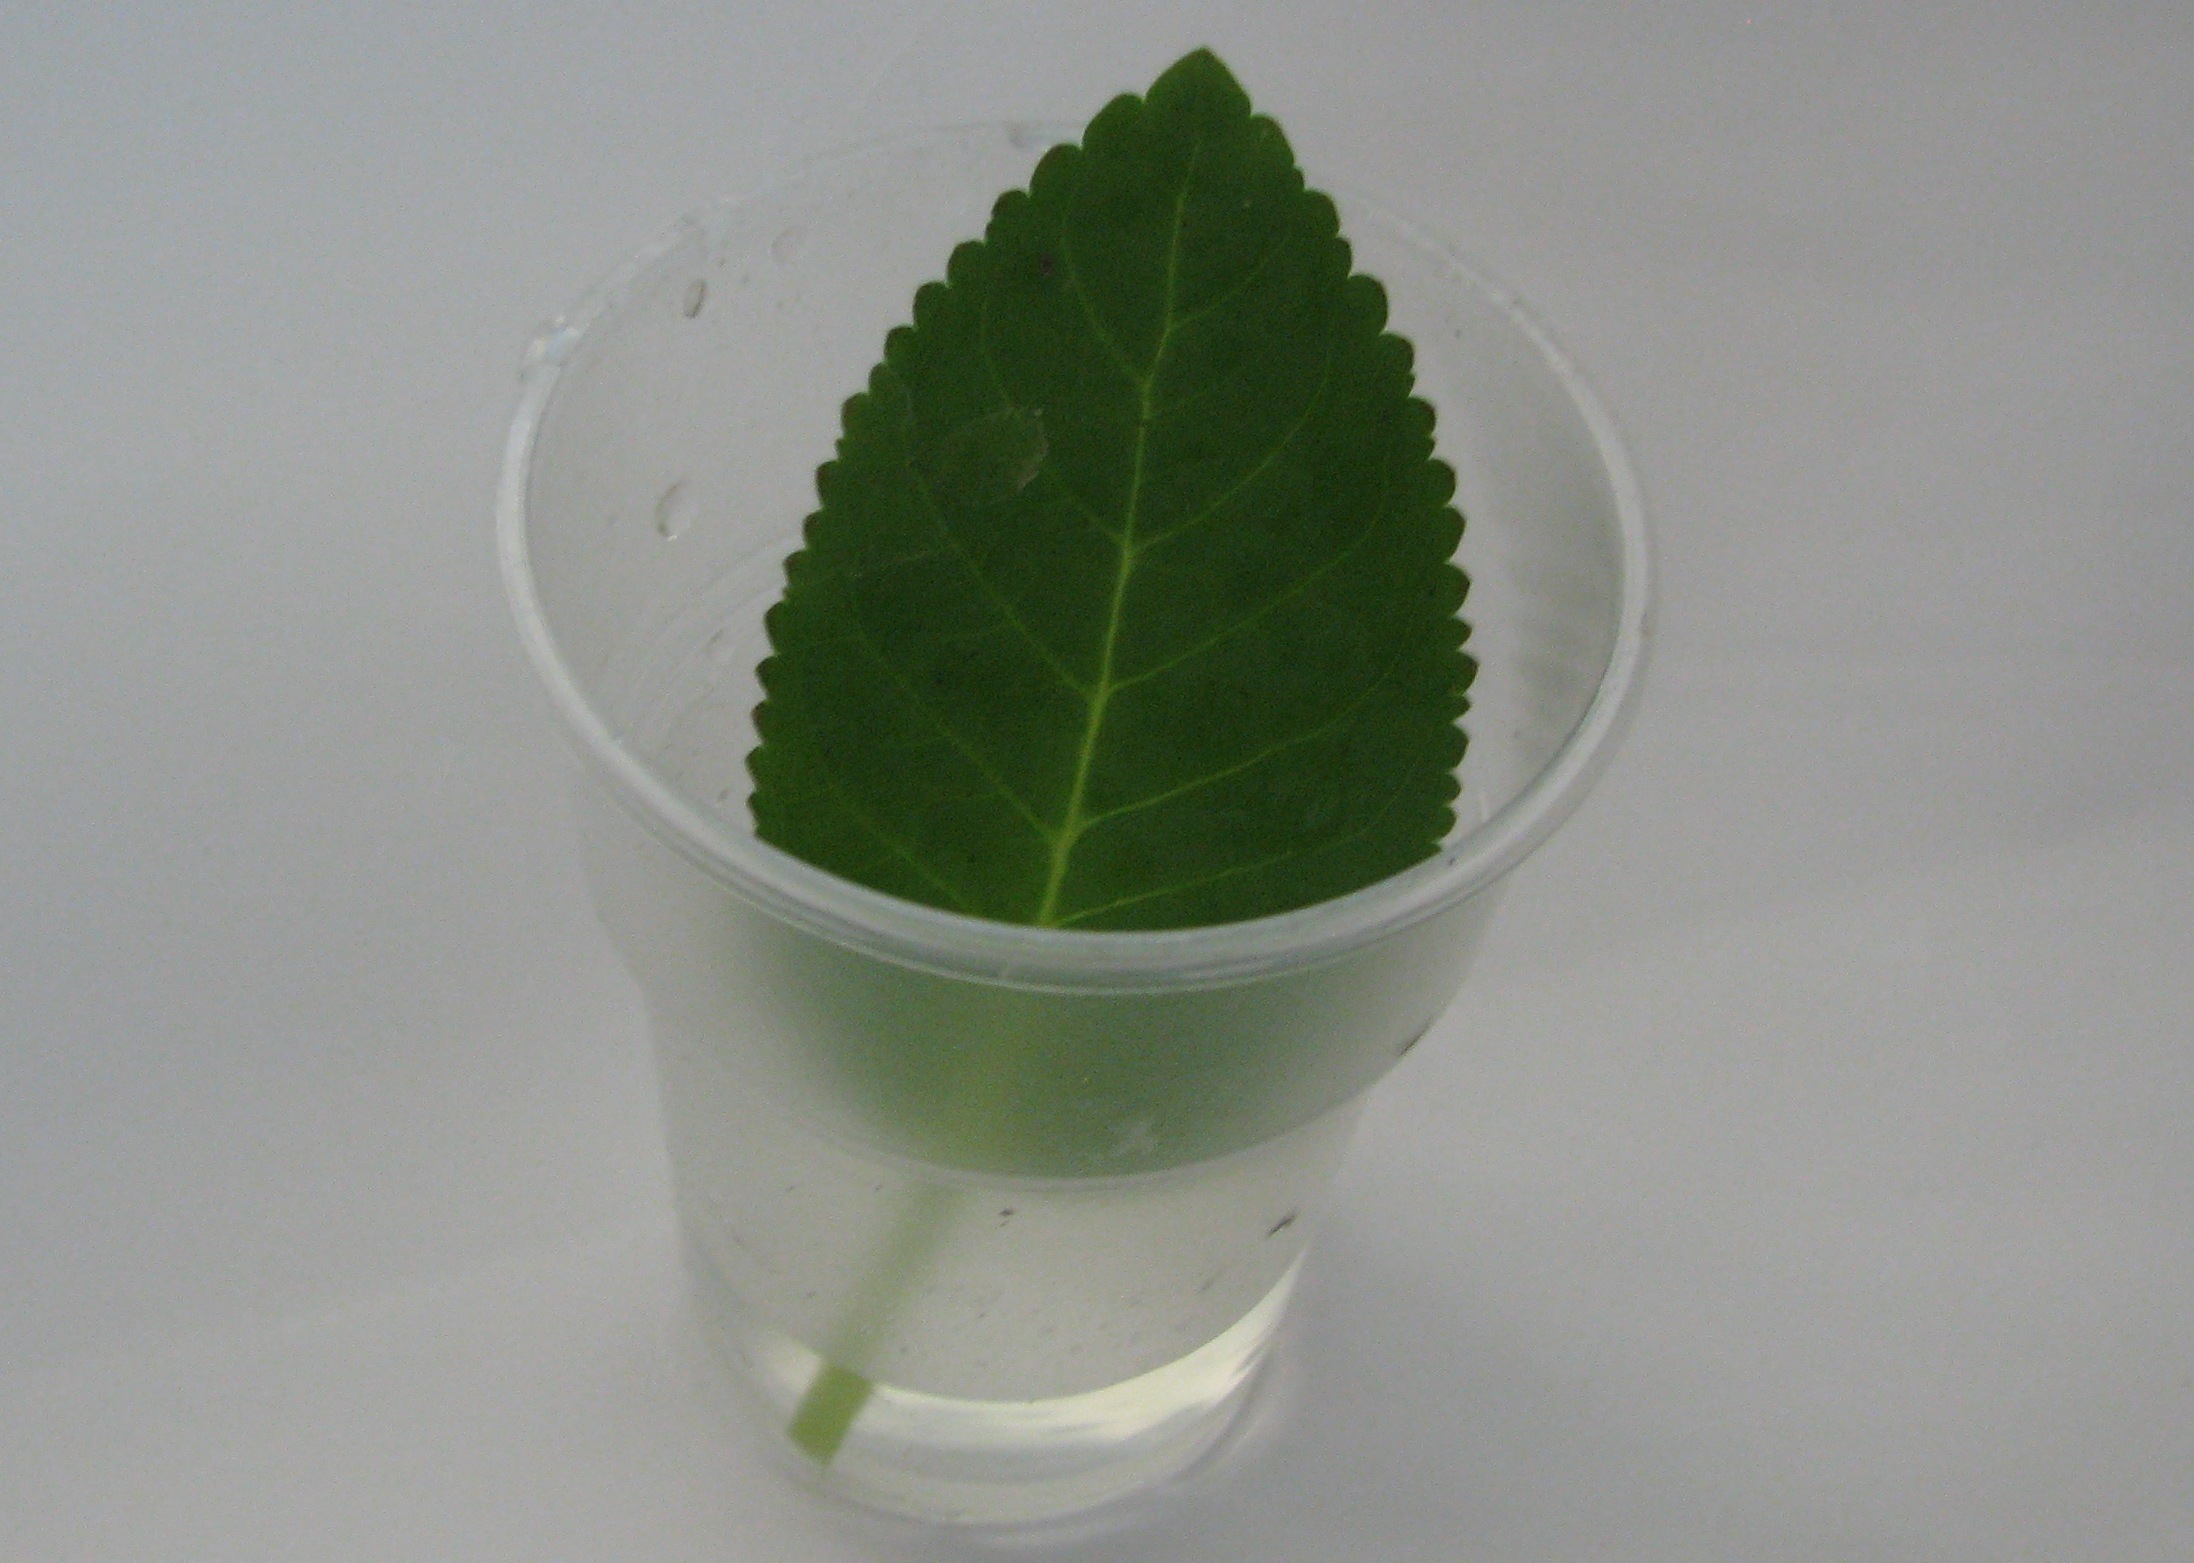
Rooting in water
This method can be used by those people who want to know how gloxinia reproduces.
How to care for leaves during rooting
There are no particular difficulties in caring for new leaves and shoots. If you forget to follow simple rules, then it is very easy to ruin a new plant. It is necessary to provide the flower with regular watering, but the amount of moisture should not be excessive, so that the soil is constantly wet.
The drainage system serves to drain excess water, so do not forget about it before planting plants. Due to the difference in temperature and humidity, it is very difficult to establish any strict rules for watering.
Leaf propagation
Acquaintance with some of the nuances will allow you to avoid problems with gloxinia when applying dressings:
- thanks to nitrogenous substances, the flower will have good vegetative growth, but with an excessive amount of fertilizer, root rot may begin;
- phosphorus fertilizing can prolong the flowering period, but the excess provokes chlorosis.
All these nuances are recommended for plant lovers who want to know how to propagate gloxinia.
Why do rooted leaves wither
Sometimes you can face the problem of wilting of the planted leaf plate, while it does not matter where the planting was carried out: into the ground or water. The reasons are as follows:
- The rooted part of the appendix stands in direct sunlight.Plants need natural light, but not as aggressive;
- Lack of covering material. The future flower needs a suitable temperature, which can only be achieved in greenhouse conditions;
- Excessive waterlogging. When using land for rooting, irrigation is carried out so that water does not stagnate;
- If the planting in the ground was not carried out carefully, then this could lead to damage to the root system;
- Too large dimensions of the leaf plate also cause sluggishness, cutting off the top of the leaf can help here.
If the rooted leaf starts to rot
For those who want to know how to root gloxinia from a leaf, you need to familiarize yourself with the reasons leading to the decay of the future plant:
- a strong pressure on the petiole of the leaf leads to decay of the planting material, therefore, you should not make great efforts when planting;
- direct sunlight is another reason for the plant's poor health;
- a poorly lit place is not suitable for future gloxinia;
- the use of dirty tools when cutting leaves is the cause of decay;
- too much heat or excess heat;
- rotting is also characteristic of old leaves, therefore it is best to breed gloxinia from young leaves.
How to propagate gloxinia by dividing a tuber
For this technique, only large tubers with sprouts and a shoot height of at least 2 cm are suitable. A tuber is cut with a sharp knife or scalpel (previously disinfected) so that each divided part has one sprout or bud. The sections are processed with charcoal, previously crushed, and given some time to dry. Now you can plant tubers in a container with soil.
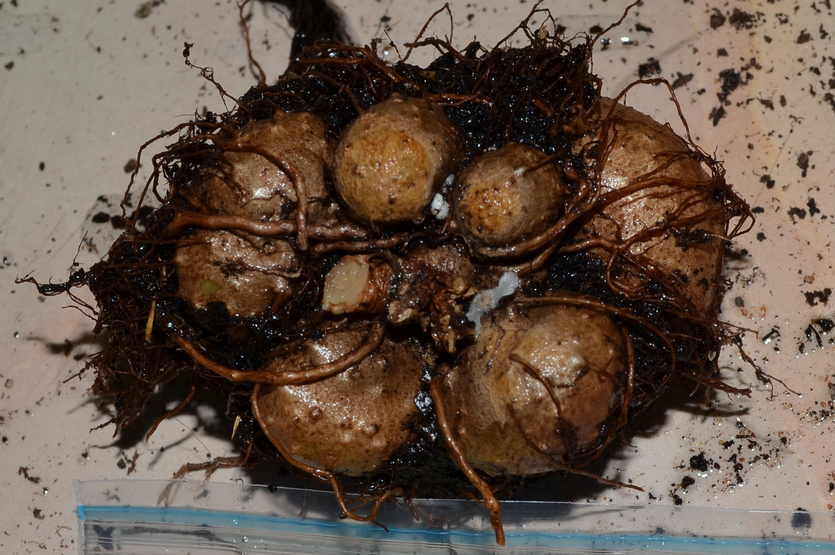
Gloxinia tubers
Growing from seeds
Another option for how to grow gloxinia is to use seed, you should start with some nuances.
How to get your seeds
It is very difficult to carry out manual pollination of gloxinia flowers, of course, first it must bloom. The operation is carried out at the time of flowering, using pollen from one flower, it is transferred to the pistil of another. It is recommended to take flowers with different colors. After a few days, the corolla should dry out, and a seed capsule should form in its place. The process of formation and maturation often takes up to 56 days.
At the first signs of opening the capsule, it must be carefully cut off, put in a dry container and pour the seeds after full opening into a suitable container.
How to prepare seeds for growing
Gloxinia seeds are very small in size, so no additional treatments are carried out for them, they can simply be sown.
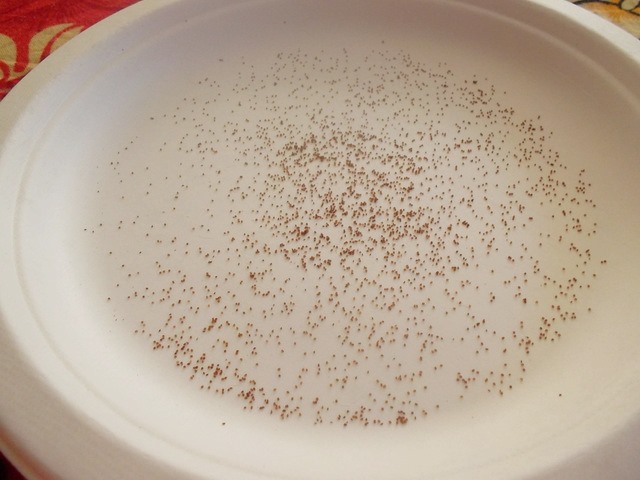
Seed material
Suitable soil, moisture, temperature
You can use ready-made earthen mixture for planting or prepare it yourself. It is recommended to take soil collected under coniferous or birch trees, away from highways.
Gloxinia from seeds requires a film cover that provides plants with the desired moisture content. It is periodically necessary to spray the soil; to reduce the amount of condensate, the crops are ventilated 2 times a day for 10 minutes.
As for the temperature regime, gloxinia from seeds at home needs an indicator of + 25 ° C. After sprouts appear, it is gradually reduced to + 22 ° C.
How to care for sprouts
The treatment includes simple procedures:
- airing according to the above scheme;
- lowering the temperature regime;
- watering as the soil dries up;
- removal of the shelter after the emergence of shoots;
- picking after mass germination of seeds, sprouts must be seated in separate containers.
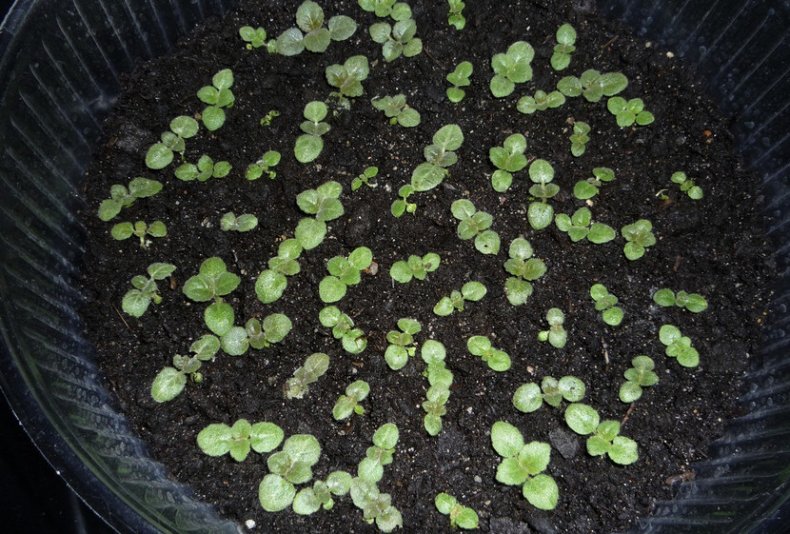
Gloxinia sprouts
Peduncle propagation
Gloxinia reproduction includes another method - the use of peduncles. The advantages and disadvantages of this option were written at the very beginning of the article, therefore it is worth moving on to the description of the technique.
For planting, flowers that have passed the flowering phase are used, the method itself is similar to how a new plant is obtained from leaf cuttings.
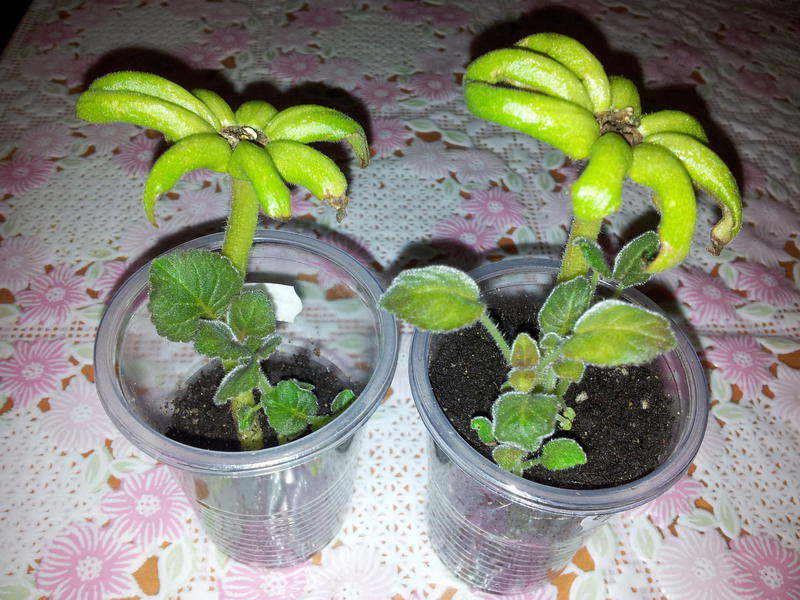
Reproduction by peduncles
The step-by-step instructions are as follows:
- A container of a suitable size is prepared.
- The settled cold water is poured onto the bottom to a height of 1 cm.
- The peduncle is pruned together with the cutting part.
- Place in a container.
- If the flower is pollinated, then soon sprouts will appear. In the absence of this process, you will have to wait.
- After the appearance of the root system, transplantation into the ground is carried out.
The article allows you to get acquainted with various options for how to propagate a beautiful house plant. Having chosen the option they like, every flower lover can get gloxinia, subject to the correct recommendations.