Gloxinia - leaf and tuber propagation at home
Content:
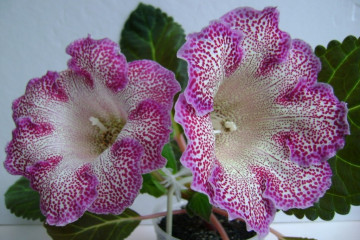
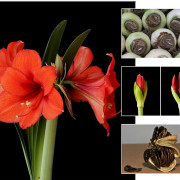
Gloxinia, a perennial indoor flowering plant that can be propagated at home, is a fairly popular flower. Soft leaves with a noticeable downy are a distinctive feature of this representative of the flora. The petals of funnel-shaped velvety flowers are from pure white to almost black in color, but the principles of breeding different varieties of gloxinia are completely the same.
Breeding gloxinia at home
Any novice florist can do the cultivation of gloxinia at home, since it is an unpretentious plant. The flower does not need exquisite care. It is because of this that it remains only to find out how gloxinia reproduces so that another beautiful flower appears in the house.
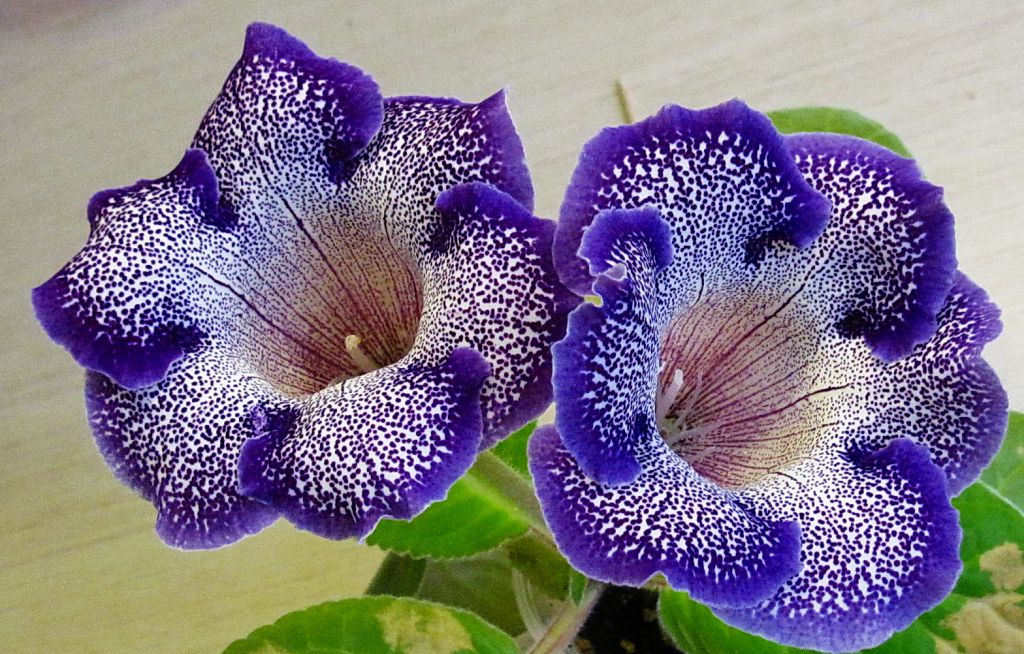
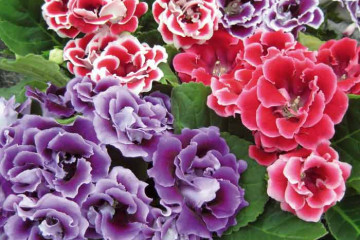
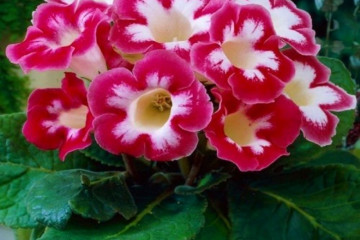
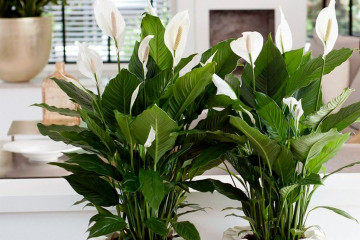
Gloxinia flowers
In order for the plant to please the household with a beautiful flowering, it is required to create good conditions for it for growth. This is also required for faster and more successful root formation.
Like transplanting, planting gloxinia should be done in late spring or early summer. This will allow the seedlings to root better until autumn comes, during which time the flower enters a dormant state.
- Illumination
The flower is light-loving, but this does not mean at all that you can just put the pot with the plant on the windowsill and not worry about it. Direct sunlight can burn the delicate leaves of gloxinia. The light needs to be diffused, and in the apartment it is recommended to choose windows facing west and east.
As additional lighting, you can use fluorescent lamps, from which the sprout will definitely not be able to get burns. By the appearance of gloxinia, you can determine whether it is getting enough light or not. If the leaves are dark green horizontally, then everything is fine.
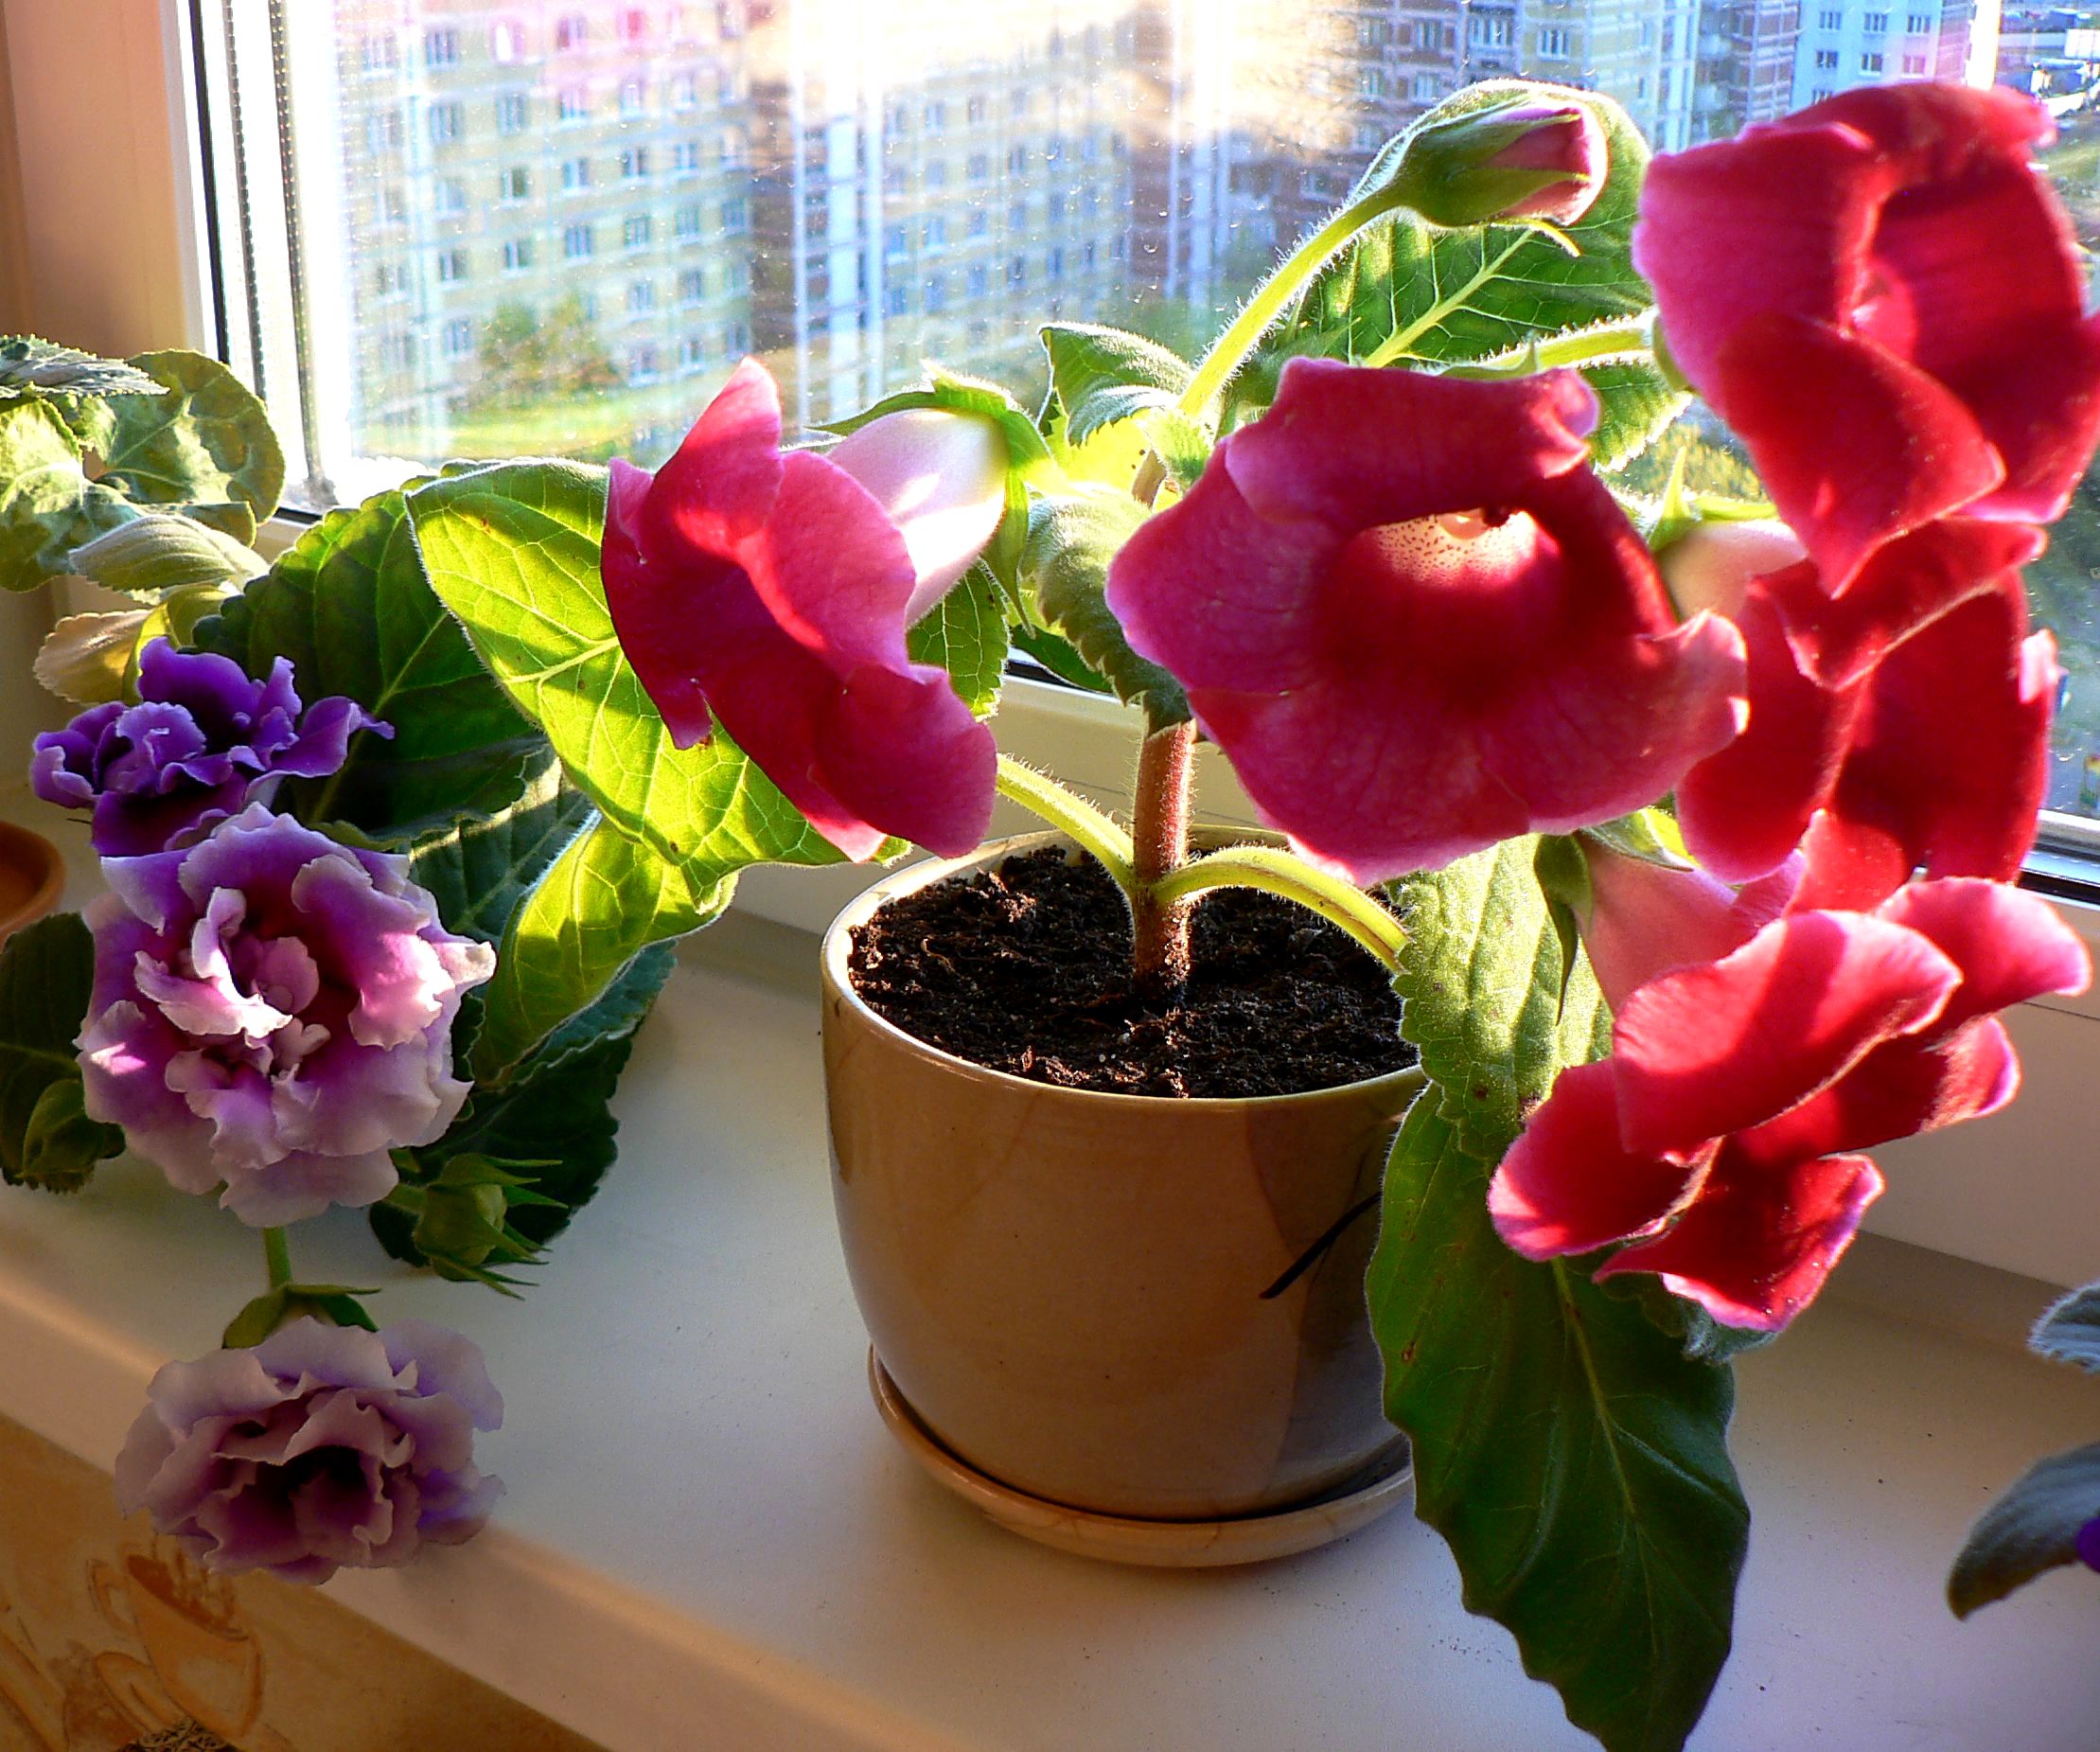
Gloxinia on the windowsill
- Humidity
The optimum humidity for gloxinia is 50%. Most often in houses, it fluctuates around this level, and therefore it is not necessary to take additional measures to humidify the air.
- Temperature
The temperature regime in a room with a growing flower in the warm season should be about +20 degrees. By the plant itself, you can tell if the conditions are good.
At high temperatures, the leaves begin to rise upward as the moisture evaporates to a lesser extent. Otherwise, the leaves go down.
Preparing for breeding
Do not think that only capricious plants need special care. For gloxinia to bloom, it also needs a good substrate and capacity.Depending on the amount of mineral components that go to the root system, the flower can feel differently.
How to prepare the soil
You can make the soil for growing a flower yourself or purchase a specialized one in a store. It is recommended to choose a substrate for violets. If it was decided to use a home version, then you can make it by mixing the following components:
- 2 pieces of leafy land;
- 2 parts of high-moor peat;
- 1 part perlite, vermiculite or river sand.
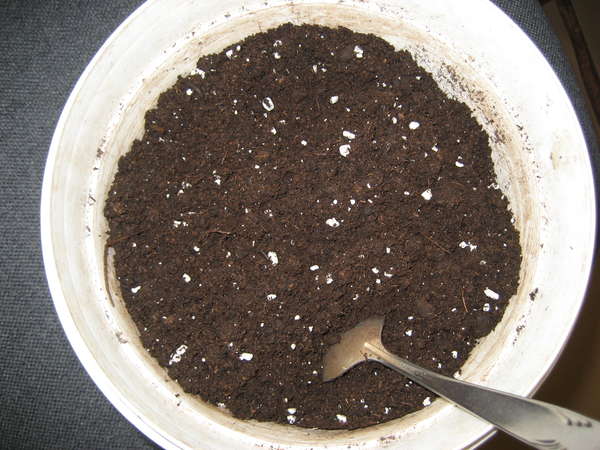
Making soil for gloxinia
Flower container size
The capacity is chosen depending on the size of the tuber of the plant: the diameter of the pot should be 3-4 cm larger. Don't choose deep containers.
Gloxinia breeding methods at home
Not everyone knows how to propagate gloxinia, although almost any of the known methods can be used. It is most preferable to plant the flower using vegetative methods, but you can also plant seeds.
How to grow a leaf from a fragment
The simplest and most popular way to grow gloxinia at home is breeding from a leaf. Novice growers may not know at all about this method of flower propagation, but for a home plant this is the safest option. Therefore, it is worth learning how to propagate gloxinia with a leaf at home.
Leaves should be taken in the spring, young. There are several ways to propagate a flower using this method. You can root the leaves in water. To do this, it is worth placing the material in whole or in part in water. The liquid must be changed daily to fresh. After the roots appear, the sprout can be planted in the soil.
Leaf propagation
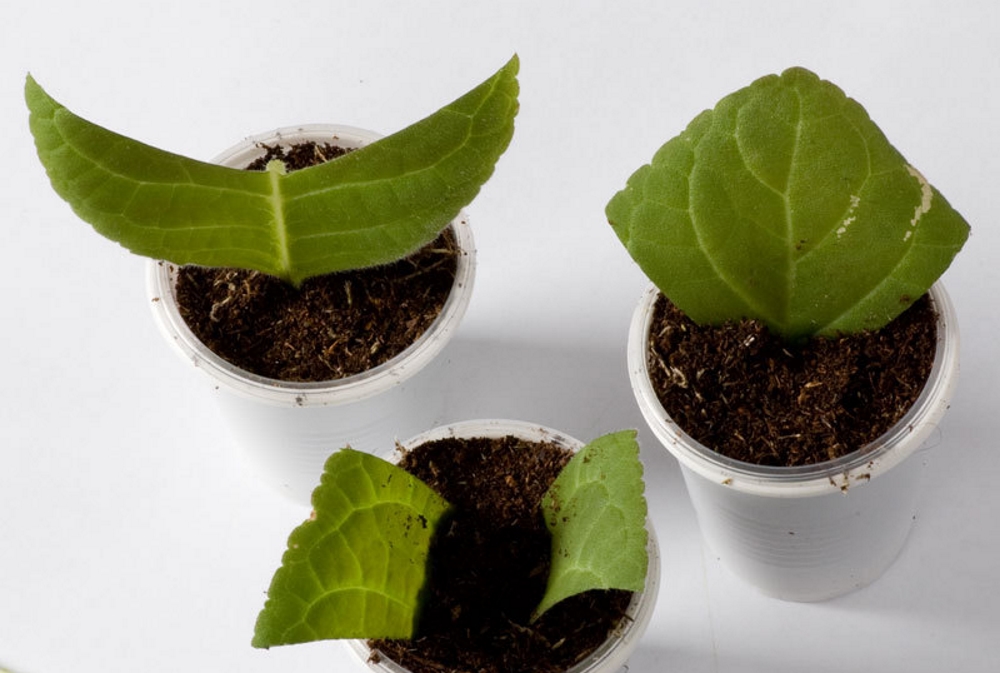
However, rooting through water can be bypassed and transplanted directly into the substrate. To do this, you need to cut the sheets so that the length of their petioles is at least 2 cm.Then proceed according to the following plan:
- Make drainage holes in plastic cups, pour the prepared soil into them and moisten it.
- Process the cut with a root formation amplifier (Kornevin is most often used for this purpose).
- Plant the leaf into the soil at an angle of 45 degrees, deepening the stem halfway.
- Cover the container with foil or glass, put it in a warm place where the air temperature does not drop below +18 degrees.
- Once a day, it is worth ventilating a homemade greenhouse; as it dries, it is worth moistening the soil.
Babies will begin to form on the sheet in about 1.5-2 months. They can appear anywhere, they need to be carefully cut and planted to root in an individual container.
Step-by-step reproduction of a flower by seeds
Propagating a flower by seed is not at all easy. Gloxinia seeds are small enough, and therefore it is difficult to choose a good planting material. It is worth following the step-by-step instructions for this method of plant breeding:
- Prepare the seedling container in advance and fill it with soil.
- Spread the seeds over the surface of the substrate, trying to distribute them evenly.
- Spray with water from a spray bottle.
- Cover with glass or polyethylene, place in a warm place where the temperature is at least +22 degrees.
The first shoots should appear 2-3 weeks after planting. When 2 leaves appear on the sprouts, it is worth picking into separate containers.
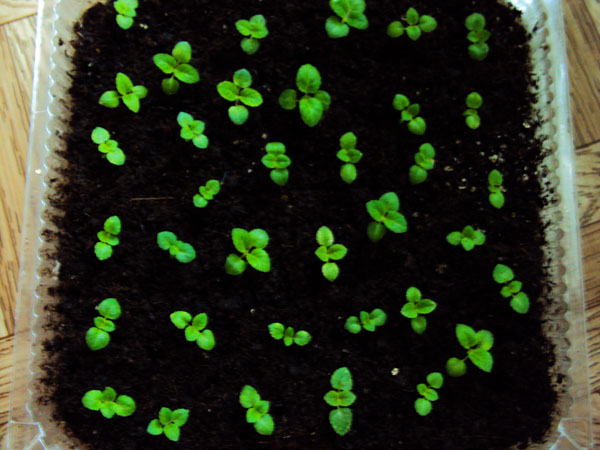
Seed propagation
Tuber propagation step by step
Diluting gloxinia by dividing the tuber is quite simple if you cut it correctly. However, flower growers often cannot cope with this task, which is why there is a risk of losing the entire flower completely.
If you are not confident in your abilities, it is recommended to choose another method for propagating gloxinia, for example, with a leaf. However, if you want to use this method, you should follow these steps:
- It is necessary to select those tubers whose size is more than 6 cm. At least 3 sprouts should appear on them.
- Disinfect instruments, sharpen if necessary.
- Cut the tuber into several parts so that there is one bud on each division.
- Treat the sections with brilliant green or charcoal, dry.
- Treat dried cuts with a small amount of garden varnish.
- Put drainage, substrate on the bottom of the containers.
- Moisten the soil and plant the plant so that the shoots are at ground level.
You do not need to water the delenki too often. To moisten the soil, it is recommended to use another method of irrigation: it is recommended to place containers in water. When the root system completely fills the container, it is worth replanting the plants in individual pots.
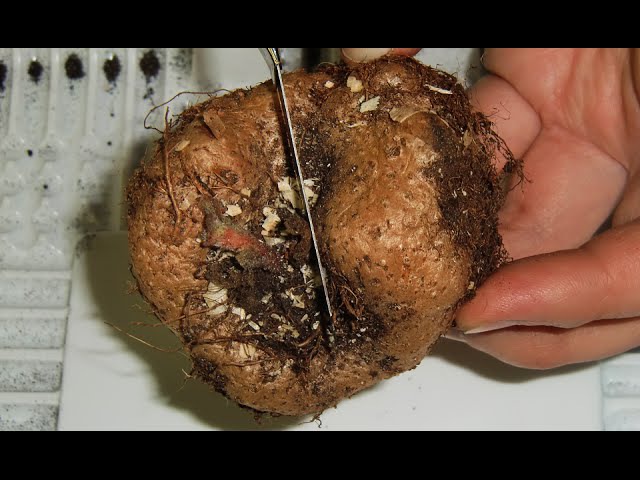
Reproduction by dividing the tuber
Propagation by cuttings
Planting leafy cuttings is as easy as planting gloxinia with a leaf. To do this, it is worth using cuttings of young foliage. It is recommended to plant them in peat tablets, and add a sufficient amount of growth stimulants to the soil.
After the sprouts appear, they should be transferred to a bright place and regularly moisten the substrate from a spray bottle.
How to propagate with a peduncle
This method of plant propagation is not suitable for all types of gloxinia. It is recommended to breed only simple varieties with a peduncle. The procedure is carried out as follows:
- Peduncles should be cut to a length that will not exceed 7 cm.
- They can be rooted both in water and in soil.
For rooting in water, you need to pour about 1 cm of water on the bottom of the glass, put a peduncle there. When planting in the soil, you need to cover the container with a film and get ready-made seedlings a couple of months after planting.
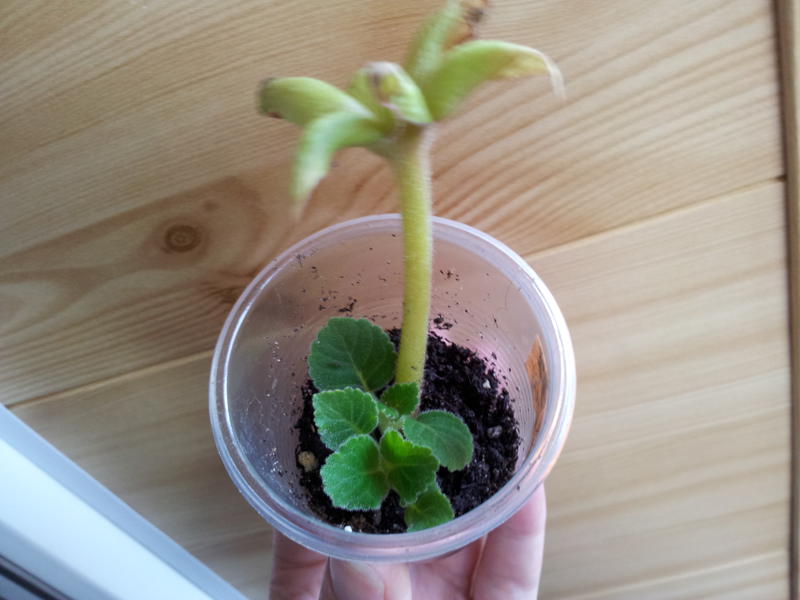
Peduncle propagation
How to care for sprouts
Watering should be carried out as soon as the soil begins to dry out. Planting cups should have drainage holes to remove excess moisture. Water should not stagnate in containers, as in such soil the roots will rot faster than they grow.
Low concentration fertilizing is applied 2 months after planting. It is recommended to carry out this procedure in the evening or on a cloudy day.
Possible breeding errors
Reproduction of gloxinia is a relatively easy undertaking, but in some cases certain problems may arise if some recommendations for rooting and caring for sprouts are not followed.
With improper watering, a small amount of lighting, low temperatures, roots can rot. A similar thing can happen to them due to infection with pathogenic microorganisms. Leaves can start to wither if they don't get enough moisture, but because of its abundance, the same can happen.
There are many ways to reproduce gloxinia, which one to choose is up to each grower personally. The simplest and safest method for a plant is leaf propagation.