How to grow roots in an orchid: options over water and at home
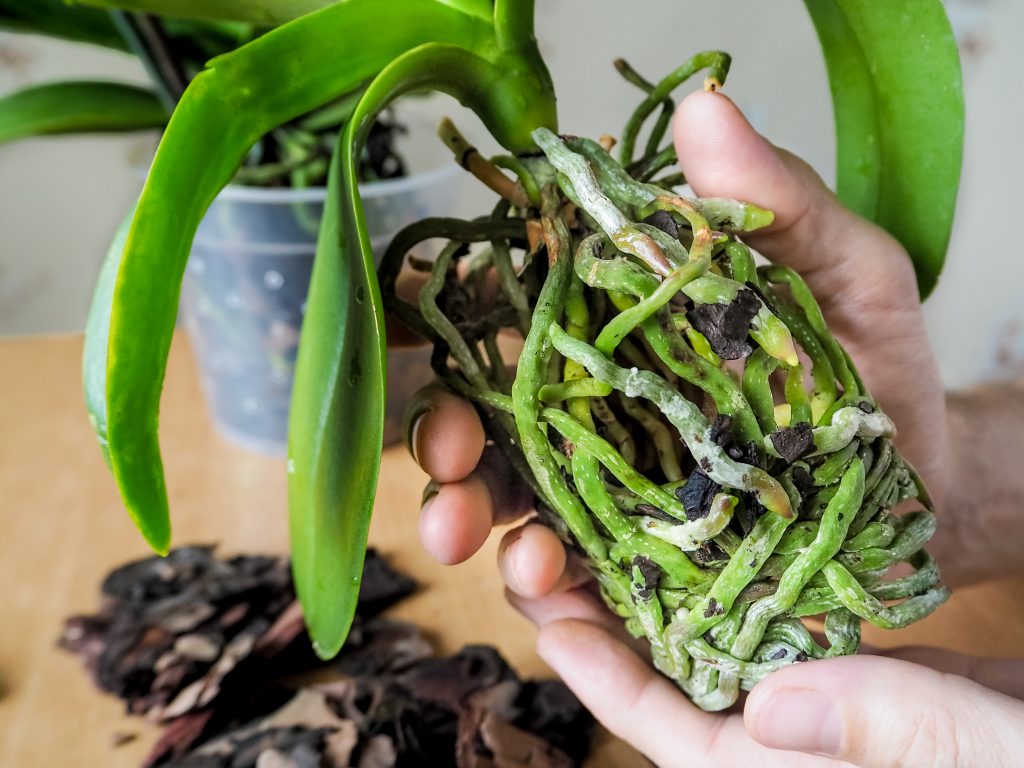
Excessive watering or poor-quality contents of the flower pot can lead not only to rotting of the roots, but also to the death of the plant. If the root system of the orchid is disturbed and new shoots do not appear, they can be increased. To activate root growth, you can use various methods and stimulants that can restore roots even in their complete absence.
Basic methods of root augmentation
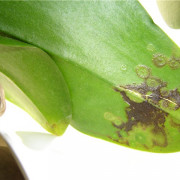
The normal habitat of an orchid is the hot tropics, where the most comfortable natural conditions are created for the plant. Failure to comply with the temperature regime, insufficient humidity and incorrectly selected soil can cause the death of a flower or its protracted illness.
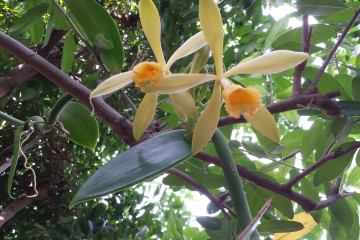
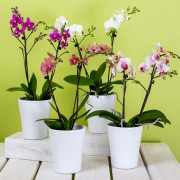
Phalaenopsis orchid
There are several proven ways to help save the plant at home.
To determine the method and understand how to grow roots in an orchid, it is necessary to carefully analyze the condition of the plant and evaluate the scope of work. Among the variety of methods, there will definitely be a suitable one, and the flower will again begin to delight with its beauty.
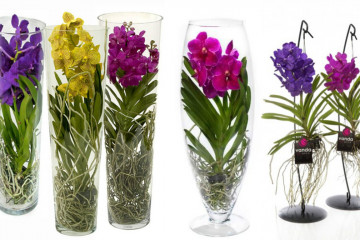
Closed system
The main and often used method, which involves the complete immersion of the root system in water. This method can be used only if the root death was not caused by excessive soil moisture.
- Warm clean water is poured into the vessel.
- The base of the flower is immersed in the liquid.
- The container is placed in a well-lit place, but hidden from direct sunlight.
You need to change the water once every 7 days, and add it as the vessel is drained and the roots are exposed.
Greenhouse
To reanimate the roots of a plant, it is necessary to create suitable conditions for it. If there is no way to provide a separate greenhouse for the orchid, you can resort to imitation of a greenhouse. For these purposes, a cut plastic container of 5 or 10 liters or an aquarium will go.
The whole point of this method is to create optimal conditions for the flower.
Two layers are laid out in the vessel. The first layer is expanded clay, the second is sphagnum. Only after that the orchid is laid.
The structure is placed in a place with sufficient lighting, but protected from direct rays. A glass of water is placed inside to maintain optimal humidity. In winter, the greenhouse should be ventilated once a day for 10-15 minutes, and in summer it should be left open all night.
Up by the roots
The method involves immersing not the roots of the plant in water, but its leaves.
The amount of water is poured into the container. The optimal amount of liquid depends on the size of the vessel and the length of the orchid leaves. Ideally, water should cover one third of the entire length of the leaf.
With this method, the roots remain in the air and are sprayed daily with a spray bottle.
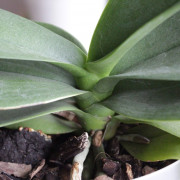
Picture 4. It is necessary to spray the plant roots daily.
Young shoots appear in about a month.
Above the water
Another technique that will help with the formation of roots is placing them above the water. The plant is placed in a container of water with the root system down. It is important that the orchid does not touch the liquid. The container must be closed from above. Once a day, the orchid must be removed and soaked in sweetened water for 60 minutes.
After the specified time, the roots must be dried and placed again above the water.
Air roots
When the plant has not been cured, the air method, called "drying" by gardeners, will help.
In order for the plant to give new shoots, you need to alternate water and air. The orchid is placed in a vessel with water, where it spends the whole daylight hours. At night, the roots should be removed from the liquid and placed above the water. Repeat the steps daily until the problem is resolved.
On tree bark
With the right approach and following all the recommendations, you can see the result in a few weeks.
- Treat the bark with fungicides (a substance that inhibits the development of fungi) and pour into a suitable container.
- Prepare the plant. Remove all non-viable parts of the root system and leave only healthy ones.
- Plant the orchid in a container so that the flower growth zone is in contact with the bark.
- Spray the bark with plain water from a spray bottle.
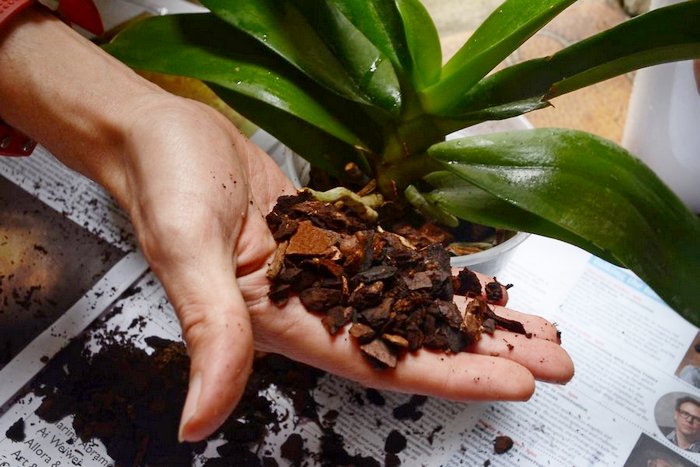
Bark for building orchid roots
The first results will appear in 3-4 weeks, but only if the optimum temperature is maintained - at least 24 degrees, and humidity - at least 50%.
In moss
Sphagnum moss has antiseptic properties and retains moisture well, so it will be the fastest to revive the orchid in this way.
- Place the moss in a container suitable for placing an orchid (if the sphagnum is dry, it should first be sprayed with water).
- Root the plant in the prepared moss. It is necessary to secure the orchid tightly enough so that it does not bend or wobble.
Root germination will occur in 3-7 weeks, after which the flower must be transplanted into nutrient soil.
Other methods
If none of the described methods are suitable, you can turn to other methods. All of them have a proven result, but are selected for each specific case individually.
In the substrate
This method is suitable for plants with small root shoots (2-3 cm). A mixture of expanded clay, sphagnum and bark is used as a substrate. Expanded clay in this case is used as a drainage layer.
- put the substrate tightly in a container;
- fasten the plant tightly in the composition and put it in a lighted place;
- throughout the entire period of growth, the moisture of the soil should be monitored and the substrate should not be oversaturated with water.
The formation of a new root system with this approach will take from 1 to 2 months.
Growth stimulant options
To improve the condition of the roots of the orchid and to stimulate their growth, special means, which have been repeatedly tested by gardeners on their own plants, will help.
Special remedies will help to improve the condition of the roots.
Cytokinin paste
Cytokinin paste is a hormonal drug that promotes cell division. Before using the product, you should wear gloves and remember that the composition of the paste can harm the health of the gardener.
It is advisable to use the paste when you need to accelerate the growth of a flower and activate dormant buds.
To achieve the effect, you must:
- Choose a suitable kidney. Usually top or bottom - they are best developed.
- With a sharp knife, remove the scales from it, but do not damage the closed part and the stem.
- Apply a thin layer of paste to the exposed kidney. Repeat the procedure once a week.
succinic acid
In the resuscitation of the flower, succinic acid will help. The drug is used as an antioxidant and perfectly helps to restore the strength of the orchid. Fertilizing with the substance will also help in the formation of a new root system.
The product is available without a prescription and comes in several forms: tablets, powder, ampoules and capsules. The dose of acid in any form is unchanged, so when choosing, you should give preference to the most convenient consistency.
In the arsenal of gardeners there are 3 ways to work with succinic acid.
Soaking in solution
The method is suitable for plants that are planned to be transplanted into new containers. To prepare the solution you will need:
- dilute 1 tablet in a liter of water and stir until completely dissolved;
- place the plant with roots in an amber solution and let stand for 2-2.5 hours;
- after the end of the procedure, dry the roots and plant them in the ground.
Powder treatment of the cuttings
When asked how to grow roots in a phalaenopsis orchid, which was left without roots, it is worth turning to succinic acid again:
- crush 1-2 tablets to a powder;
- sprinkle the cutting evenly, then plant the plant in soil suitable for cultivation - in this case, the pot should be transparent and equipped with drainage holes;
- water the treated flower without touching the treated stalk.
Daily processing
Spraying problem areas daily with a solution of succinic acid will help increase the growth rate of new roots and improve the general condition of the plant.
- Prepare a solution. To do this, dilute 1 tablet per liter of water.
- Spray problem areas or lightly water them with the drug.
- Repeat the procedure every day for a month.
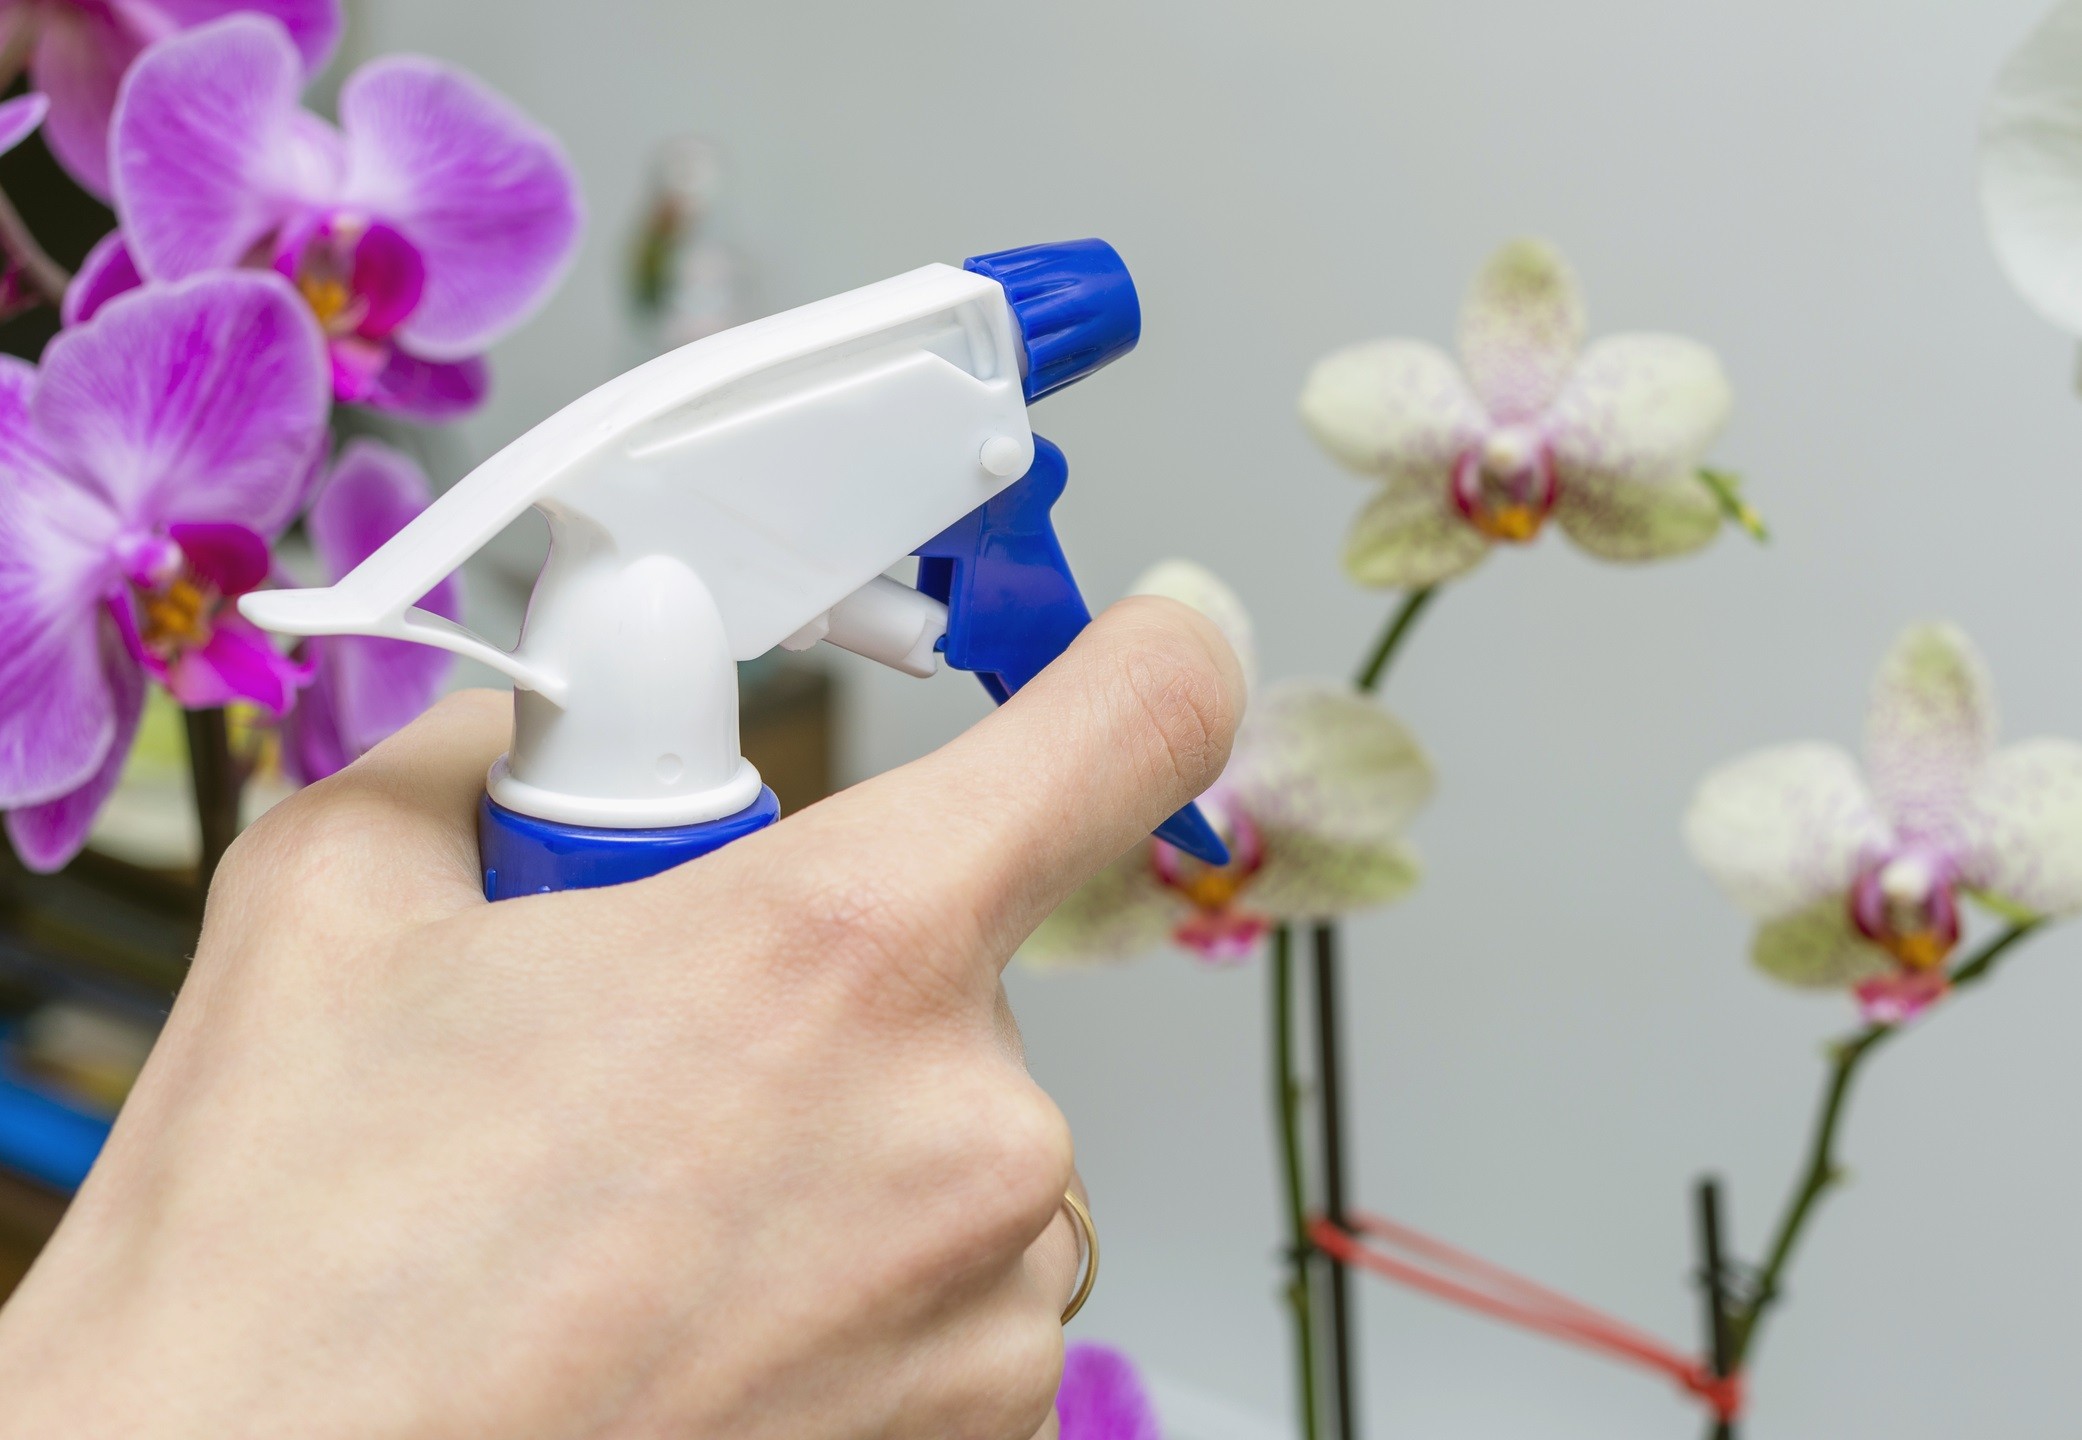
It is necessary to spray the roots of the plant daily.
Kornevin
Kornevin is a hormonal drug that accelerates the ripening of the peduncle. Can also be used to enlarge babies. The drug is produced in the form of a liquid and powder.
- Cut off the part of the plant with the growing point and leave in a warm, light place until the cut point dries.
- Prepare Kornevin's solution according to the instructions and lower the sprout for 10-20 minutes.
- Add 1 tablet of activated carbon to boiled water and place the treated sprout.
- After a couple of months, such an orchid can be planted in the ground.
The main mistakes when building
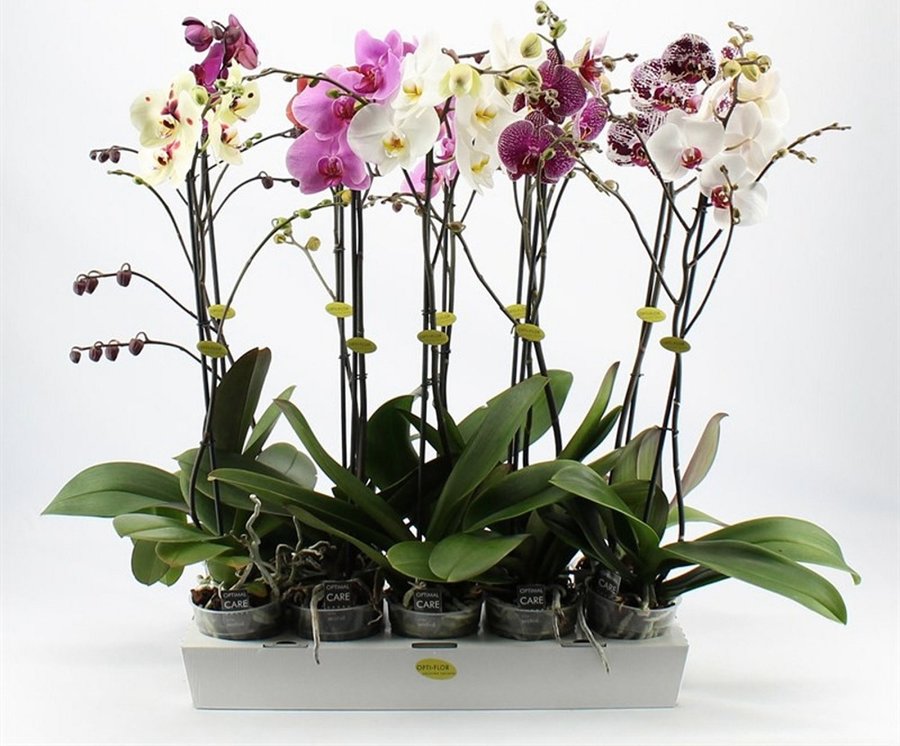
The extension of roots does not do without errors, which can sometimes cause the final death of a flower. It is worth paying attention to common situations and then the wilting plant will regain its blooming appearance.
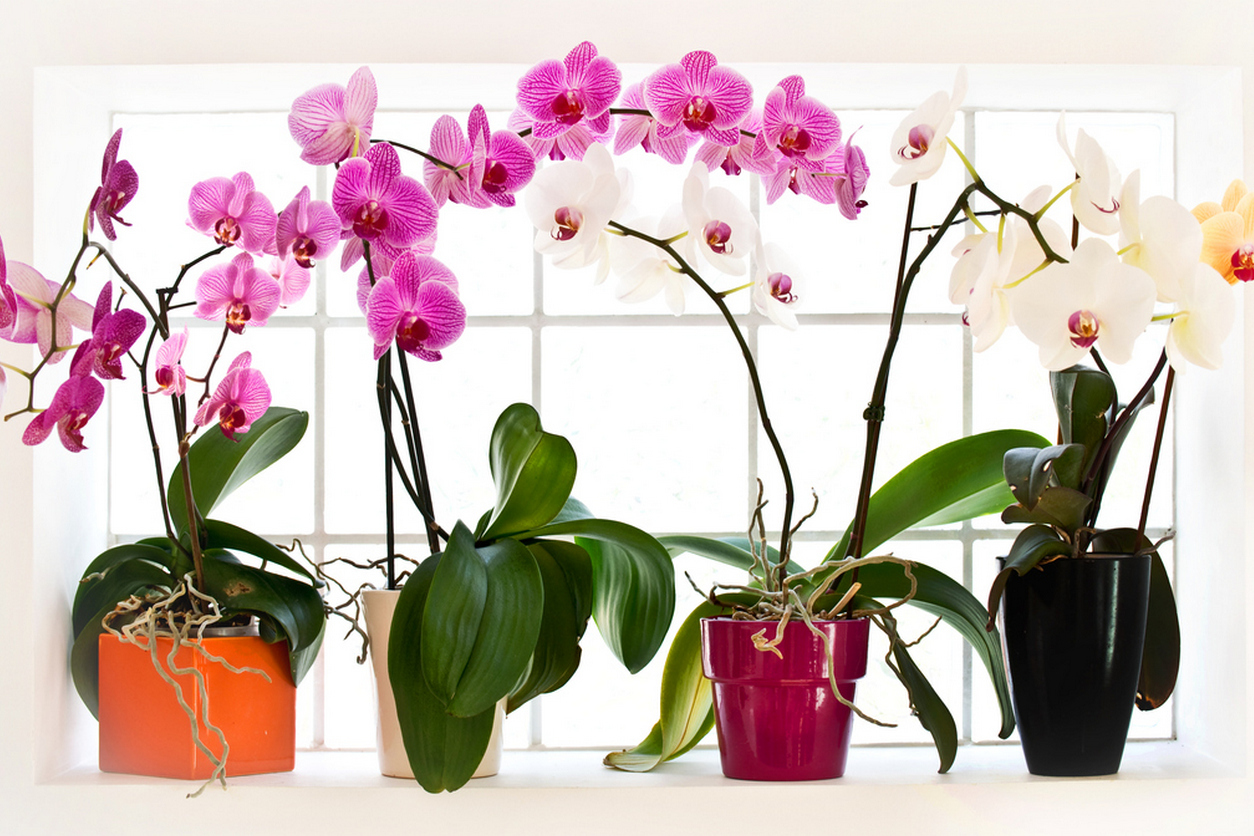
With the right approach, you can turn a withering plant into a blooming orchid.
Lighting
For maximum comfort, orchids should be placed on the north side. You can arrange a flower on the windowsill on the other side, but it is the north that is preferable. It is important to monitor the condition of the plant during the warmer months to avoid damaging sensitive leaves.
Transfer
Plant transplanting is a last resort and should not be used unnecessarily.If a change in soil is unavoidable, it is necessary to carefully process the roots and remove damaged shoots. Healthy shoots are treated with activated charcoal before planting in a new pot.
Humidity
It must be remembered that the orchid loves high humidity and functions normally only at 50 percent. Additional ways to increase humidity levels should not be neglected.
Orchid is a capricious and fastidious flower, but this will not prevent a loving florist from growing its roots and giving the plant new life. The result will not be long in coming, but it is important not only to be patient, but also to follow all the tips and instructions. Do not forget that you can save the plant even in the most neglected case.