How to take a shoot from an orchid: transplant options and examples at home
Content:
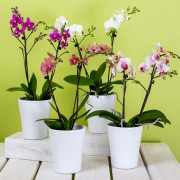
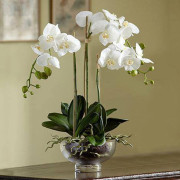
Orchids are the most popular and sought-after potted flowers today. They are expensive, so such plants are often purchased as a gift to relatives and friends. Orchids delight with their unique appearance on store shelves, as well as in the first days after purchase. Further, the flowers often die if they are not provided with proper care, which is why many refuse to purchase such plants, and it is completely in vain. If you follow all the recommendations, then you can achieve success in their reproduction and decorate the whole apartment with these flowers.
Necessary tools for depositing the appendage
Before starting the process of planting the offshoot from the mother flower, you need to prepare all the necessary tools:
- a knife, pruner or scissors with which a baby is cut off;
- alcohol for processing instruments;
- water for irrigation;
- a plastic container for building a greenhouse or a glass jar;
- soil and drainage material for planting.
Orchids
Styrofoam
In a pot with orchid sprouts, drainage must be present, which will remove excess moisture and provide the roots with oxygen.
Styrofoam works well as a drain for orchids. It has a lot of positive characteristics:
- not susceptible to mold formation;
- has lightness and airiness;
- does not absorb moisture.
Land
The soil into which it is planned to plant the phalaenopsis orchid should be moisture and air permeable, with a low level of acidity and a moderate consistency of nutrients.
The main components of the soil are: pine bark, coconut fiber, fern roots (no more than 2 cm), leafy ground.
You can buy a ready-made substrate in a store or prepare it yourself:
- The bark and roots of the fern must be boiled for 10-20 minutes, after which they are left to dry.
- All the necessary components are mixed in equal amounts.
Pine bark
Pine bark is one of the main components of the soil, which is intended for planting orchids. It contributes to good breathability and is also moisture-retaining.
You need to choose it very carefully. The size of the fragments should be within 1 cm. Small dust or a product resulting from a mixture of decayed bark and peat is not suitable for growing.
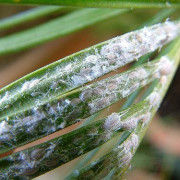
There are also experts who argue that sphagnum moss should be mixed with the bark. This option is appropriate when it comes to dry climates. If we are talking about home conditions with a room with a humid climate, then it is better not to introduce sphagnum.
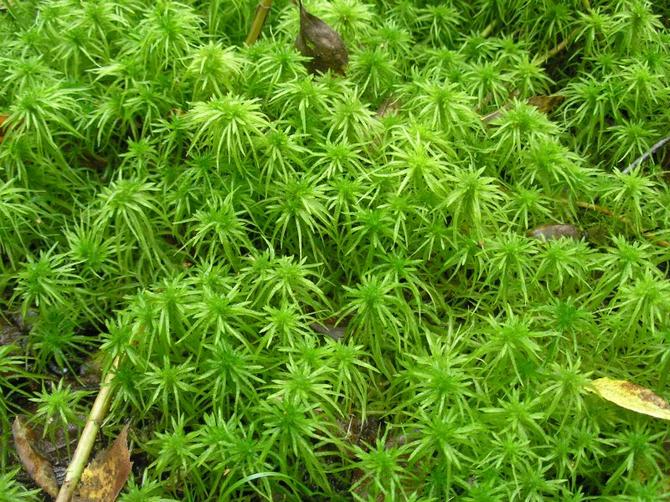
Sphagnum moss
You can put the moss on top of the soil. This will help protect the sensitive roots of the orchid from watering and fertilizing.
Charcoal
Charcoal is used as an antiseptic and absorbent. It will absorb excess moisture that dendrobium orchids simply cannot stand.
For planting, relatively large pieces of coal are used. It is better to add them to the soil in advance, three weeks in advance. This component should make up about 3-5% of the mixture.
Step-by-step instructions for separating the appendix
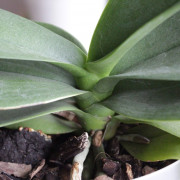
Experienced gardeners often hear the question: how to take a shoot from an orchid and when does it appear? Her babies are mainly formed on the peduncle, after the plant fades. However, sometimes they can be found in the axil of the leaf or on the trunk near the root collar.
In order for the process to begin and fully develop, it must be properly separated from the mother flower:
- The baby is taken when it grows three leaves and one or two roots about 5 cm long.At this moment, the shoot will be six months old, and it will be ready for growing in the substrate. Sometimes it also happens that the baby of the orchid stays on the stem with only leaves, but does not throw out the roots. Then it is not recommended to touch it. You can tie moss to such a baby and she will have roots, but this method does not always work.
- If the baby is growing slowly, you can help her by speeding up the growth process. To do this, a scale is carefully removed from a living kidney and, by dipping a cotton swab into a cytokinin paste, it is applied to the baby. The only condition for this procedure is a completely healthy and strong mother flower.
- After cutting, the appendix for 30 min. leave to dry.
- The cut site is treated with crushed activated carbon, and if it is not there, then you can use cinnamon.
Home options
How to plant an orchid from a scion? There are several ways to plant. Plants can be grown in greenhouses in ordinary soil, as well as in pots with expanded clay substrate. This expanded clay is produced using a special technology. To make it, they take clay cleared of salts and bake it in an oven. The advantages of this method include:
- the ability to pass water and air well;
- no need for frequent watering and the inability to overdo it with the amount of water;
- long service life, since it does not decompose or rot;
- orchids in such soil require replanting less often.
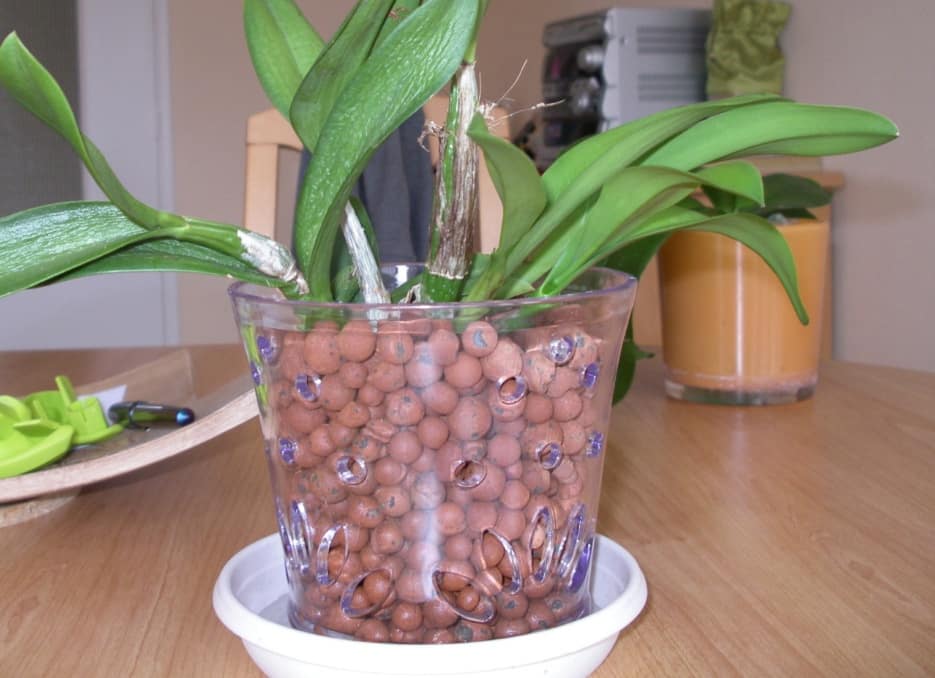
Landing in expanded clay
In addition to the advantages, the disadvantages of expanded clay material are also distinguished:
- makes the pot heavier, therefore not suitable for growing large plants;
- the support for the flower is poorly fixed in it;
- this soil is not suitable for greenhouses.
Greenhouse
The greenhouse is considered the most suitable option for the development of the root system. It is built from different materials:
- glass. They are built from cans or aquariums. These structures maintain high air humidity, so they are perfect if you need to revive the seedling and build up its root system. The disadvantage of such a structure is only the inability to make holes for the passage of air, which is why there is a risk of mold;
- plastic. They are made from food containers or plastic bottles. They are used in any situation. They did not have any shortcomings;
- film. To make the frame, take wood, wire or plastic, and stretch polyethylene on top of it. Most of all they are suitable for growing cuttings and children. The downside of this design is the difficulty in manufacturing, as well as the high risk of steaming the plants if the temperature rises outside.
When it comes to babies, it is best to grow them in a plastic container:
- Drainage holes are made in the bottom of the tank.
- Holes are also formed in the cover through which air will pass.
- Expanded clay or plastic is laid out in a container, and children are planted on top, the roots of which are covered with a substrate.
- Put sphagnum moss around the shoots and cover the children with a lid.
You need to pour water from above so that it passes through the soil, and a saucer is installed from below, so the seedlings can absorb water. Flowers are watered when the substrate is dry. In summer, this is mainly done three times a week, and in winter - no more than two.
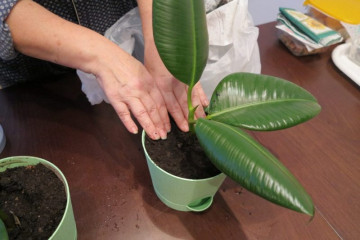
Planting and rooting process
Inexperienced flower growers often have a question: the orchid let the baby on the stem, what should I do? Of course, rejoice and take up the breeding process of these beauties. The offshoot taken from the mother tree must be planted in special soil for orchids, which can be purchased at the store or prepared yourself.
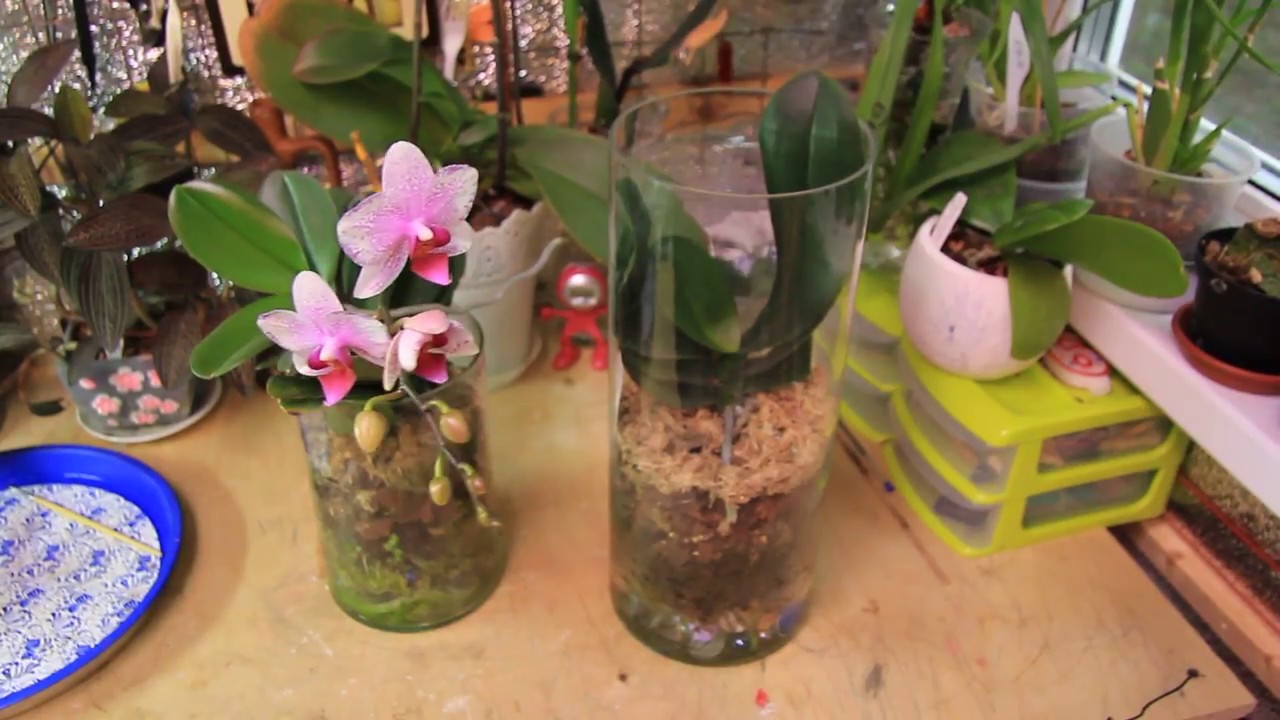
Orchids in transparent containers
The process of transplanting and rooting itself is very simple:
- You need to pick up a small transparent container.
- Several holes are made in the selected pot.
- The baby is placed in a container so that the root collar is at the level of the edge of the pot.
- The roots are straightened and covered with soil.
- You need to knock on the pot a little so that the earth settles. It is impossible to tamp the soil, as you can damage the roots.
Further care of the flower
If the orchid has given a shoot on the stem, how to transplant it has already been found out, now it is worth considering further caring for the seedling. There are several basic rules for growing orchids:
- the soil must pass water well;
- the pot must be selected transparent;
- you also need to ensure regular watering and temperature drops;
- so that midges do not start in the pot, you need to put a clove of garlic in it;
- daylight hours are increased to 14 hours.
Watering
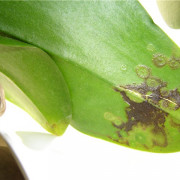
Watering orchids should be done with care, as improper actions can easily destroy the plant.
There are five methods for watering an orchid.
- With a watering can. This is the easiest way. The settled and filtered water is poured along the edge of the pot and wait until it is in the saucer. After that, watering is stopped. The disadvantage of this method is that all the roots do not have time to get saturated with water, which quickly passes through the soil. Moisture is sufficient only for the lower roots, since they can saturate it from the saucer. It is also not recommended to constantly leave water in it. Excessive moisture will cause the lower roots to rot, while the upper ones will suffer from dehydration and the plant may dry out.
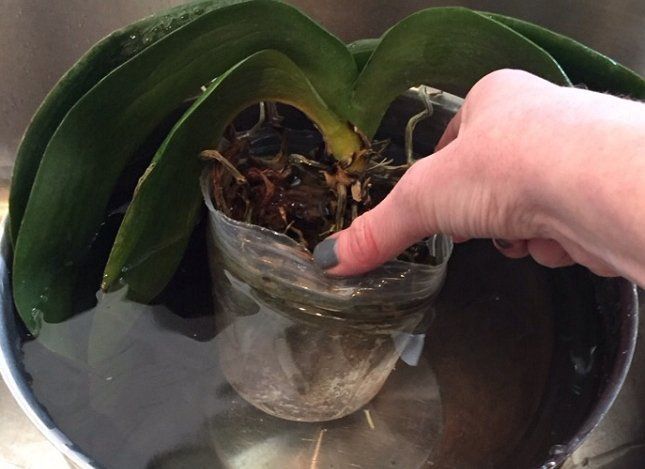
Immersion watering
- Dipping the pot. Water at room temperature is collected in a suitable container and a flowerpot with a flower is dipped in it so that the water does not reach the root collar. The plant is kept in water for about 15 minutes. If you overexpose the orchid, then nothing terrible will happen, the main thing is not to forget about the flower for a day. In this case, edema of the leaves may occur, which cannot be treated. You just have to delete them.
- Hot shower. For watering, include water that will not be hot for the inner elbow of the arm. This jet will wash away dust from plants and simulate tropical rain. After the shower, the orchids are left in the bathroom for a while, then with the help of an ear stick they remove moisture from the growth point and the axils of the leaves, otherwise they will begin to rot.
- With the help of pots. It is selected so that it is several centimeters wider. This will help improve air circulation. At the bottom of the planter, you need to pour only 2 cm of water. The orchid will take the necessary amount of moisture for itself, and you will not have to worry about its condition.
Humidity and temperature
For an orchid, you need to provide a daily temperature drop. During the day, it should not rise above 28 ° С, and at night it should fall below 18 ° С. The absence of temperature drops attracts pests. In addition, in conditions of constant coolness or stable heat, the flower will hurt.
To make the orchid look beautiful and healthy, you need to maintain the humidity in the room.For this plant, a suitable option would be 50-70%. Signs that a flower is lacking moisture are:
- falling buds;
- dry tips of leaves;
- wilting of the plant, despite regular watering and feeding;
- an increase in the interval between flowering phases.
If the orchid has given a shoot on the stem, what is already known to do, all that remains is to act. It must be remembered that these flowers are picky and difficult to care for, but they will delight the most patient and caring owners with their beauty.