How to plant an orchid baby: options at home
Content:
The most popular species among orchids is dendrobium. Provided it is properly cared for, it will decorate your home. But besides caring for the plant, you need to know the nuances related to the reproduction of this type of flower. If this is not done in time, the plant may die. The same applies to the Phalaenopsis variety.
To propagate a flower, you need to know exactly when to carry out the separation procedure, what propagation methods are inherent in the plant and how to plant an orchid baby. Additionally, you should inquire about the rules for caring for the "sprout" in the process of development and rooting.
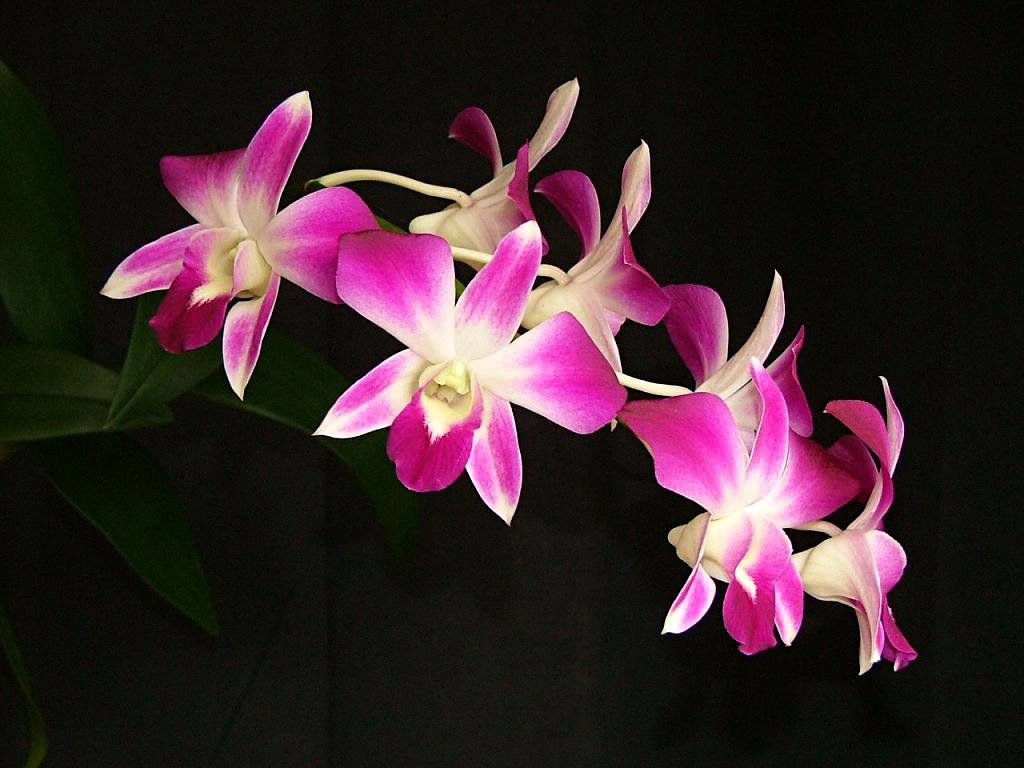
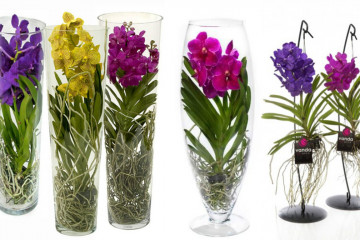
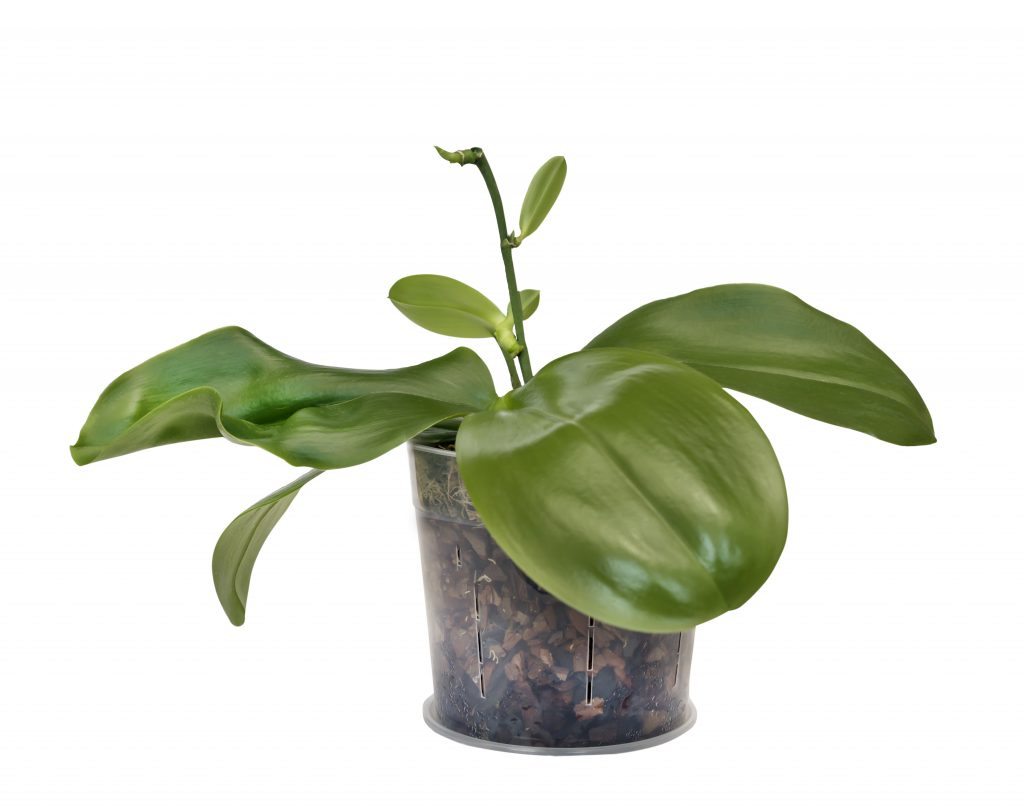
Beautiful view of a blooming orchid
The time when you can drop the baby
Even experienced flower growers often make mistakes when it comes to determining the time to plant a baby. First you need to decide where the process is located, since each type has its own development time.
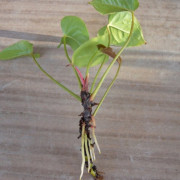
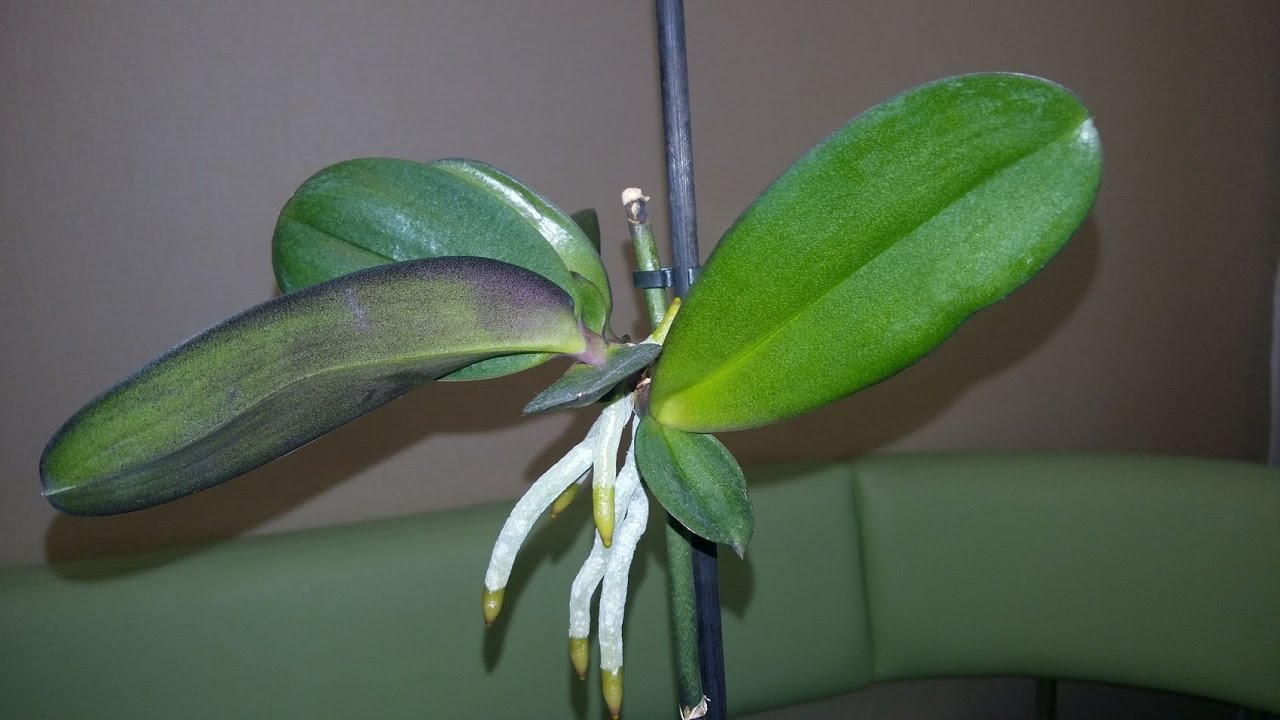
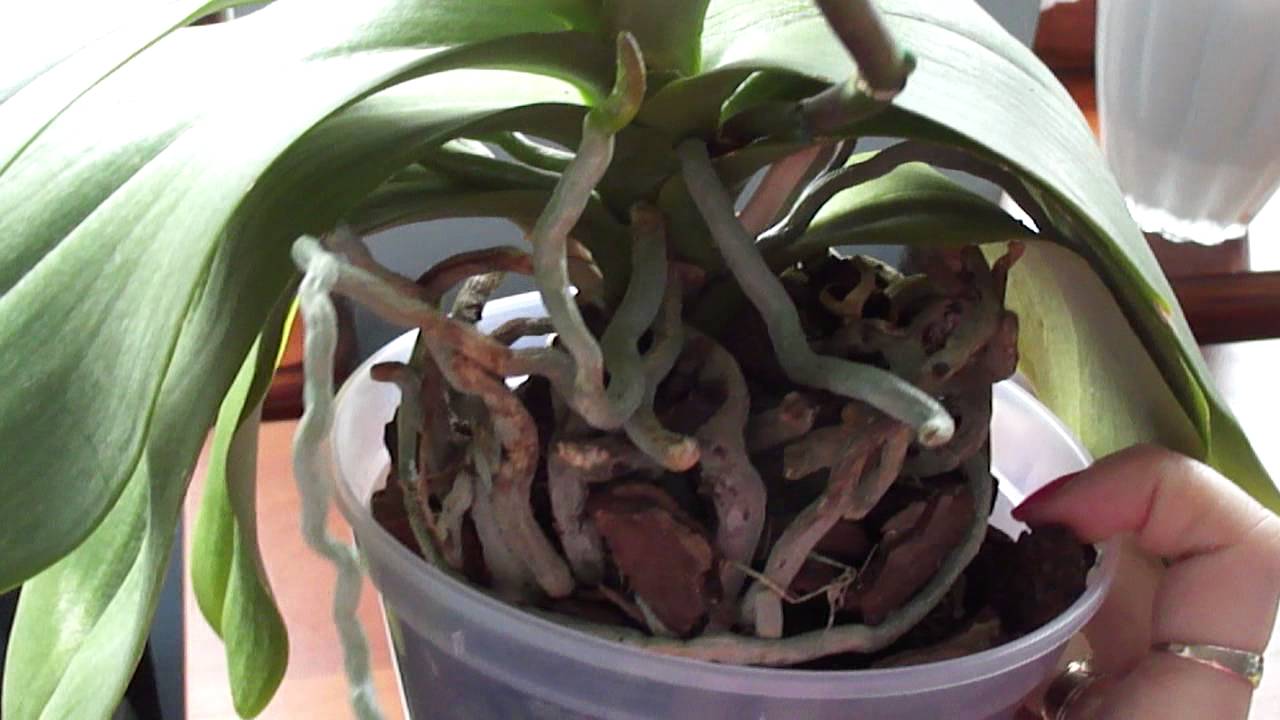
Regrown rhizomes
To determine the possibility of setting a copy from the "mother", you need to pay attention to the root. The sprouts must be at least 5 cm long. The roots should be white and rope-like.
The term of the baby
It is possible to transplant a baby after its formation only after half a year. During this time, the copy will get stronger and create an autonomous power system. You can carry out the deposition procedure later. Then the plant will become as strong as possible and will definitely survive after planting.
And other signs
The main sign that the copy can be separated from the main plant is the formation of 5 leaves. If the foliage is strong and healthy, the root system is already complete and ready to grow independently.
Normally formed seedling
Pay special attention to the top sheet. It should be dark green in color with no damage or signs of wilting.
Separating the baby from the orchid
So that the plant does not have stress, you need to know exactly how to separate the baby from an orchid without harming the mother plant and the seedling itself. There are several options for the development of events: a baby can appear on a branch, on a peduncle, on a rhizome, on a trunk. But the most important thing is to know how to plant an orchid baby from a peduncle, since a copy often develops here.
On a branch
Sometimes a branch, namely the base of the leaf, can become a place for the formation of a new baby. Depending on the state of the copy, a cut is made. Such specimens are rarely formed, but they are very strong and take root well.
You can detach the process using a sharp pruner, treat the cut with a special antiseptic for flowers, or sprinkle it with crushed activated carbon.
On the peduncle
Many problems arise when an orchid gave birth to a baby on a peduncle, and how to transplant a sprout is not clear. On the flowering arrow, you need to highlight the process. Depart from the arrow on both sides by 2 cm for a margin. In this situation, it is better to separate with pruning shears or sharp scissors.
Pediatric education on a peduncle
Sprinkle the cut with activated carbon powder. After 30 minutes, remove the wet layer of powder by soaking the area with a dry cloth.
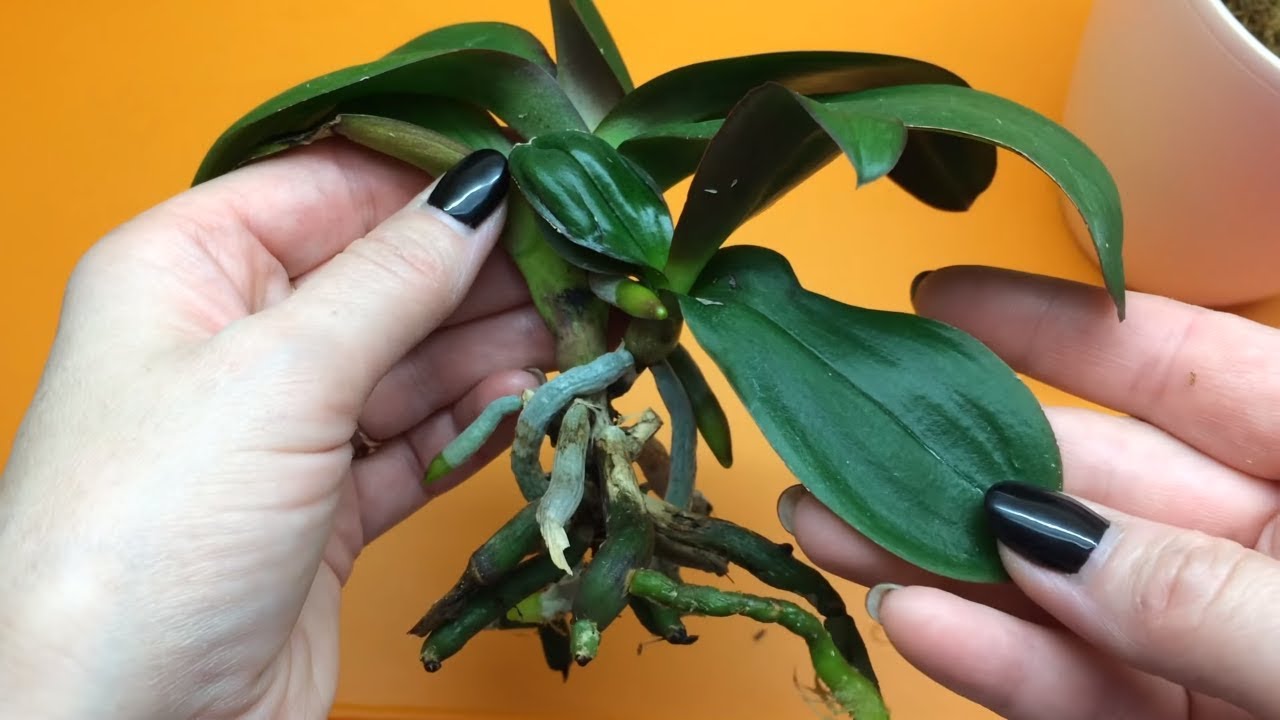
On the rhizome
Beforehand, it is worth checking that at least small roots are formed at the appendix. Further, the separation procedure is carried out:
- Select the baby near the rhizome.
- Move the soil away from where the scion is located.
- Cut the sprout with a secateurs.
- Sprinkle finely chopped cinnamon over the place of separation. Carrying out the procedure, you need to leave the mother root intact.
After 1 hour, remove the cinnamon from the root by removing the layer of powder with a cotton pad or ear cleaning stick.
On the trunk
The shoot that has appeared on the stem of the orchid does not have a root system, so nutrition is provided by the mother stem. It turns out that such an education cannot be separated.
If you divide the copy with the stem, then both the baby and the mother plant will die. The unique shoot will look more natural over time, so you don't need to worry about the unusual appearance of the orchid.
Transplant options at home
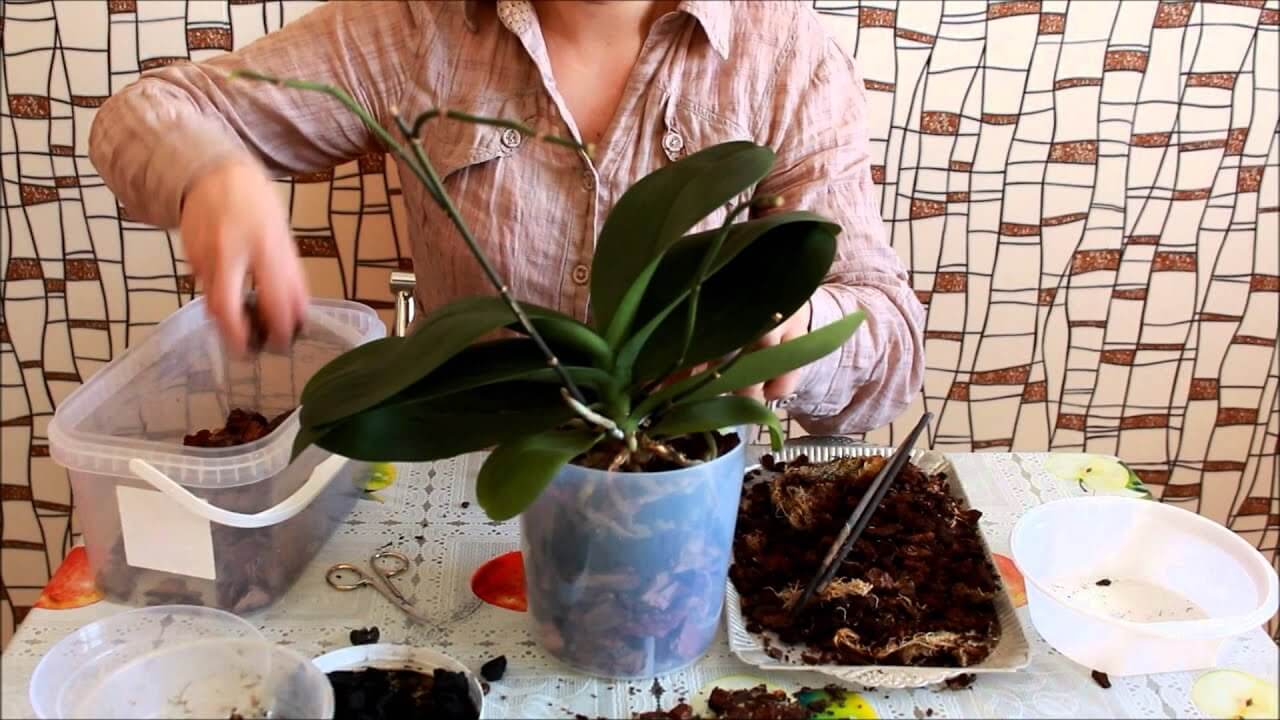
It is difficult for novice flower growers to understand how to plant an orchid shoot at home. So that the plant does not die and soon pleases with flowering, you need to carry out the procedure in accordance with a step-by-step algorithm:
- Remove the plant from the old flowerpot. Holding the flower by the stem at the base, pull the pot slightly in the opposite direction.
- Remove old substrate from the root system. The procedure is carried out carefully so as not to damage the processes.
- Remove shriveled, rotten and dry leaves, root processes.
- Soak phalaenopsis roots in a special solution for 2 hours. In the meantime, the container, "soil", tools are being prepared.
- Fill the drainage at the bottom of the container and distribute it evenly along the bottom.
- Place the plant in the center and sprinkle with the substrate, spreading the honey particles with the roots using a long wooden toothpick.
- Sprinkle the roots with moss on top.
- Water the plant lightly.
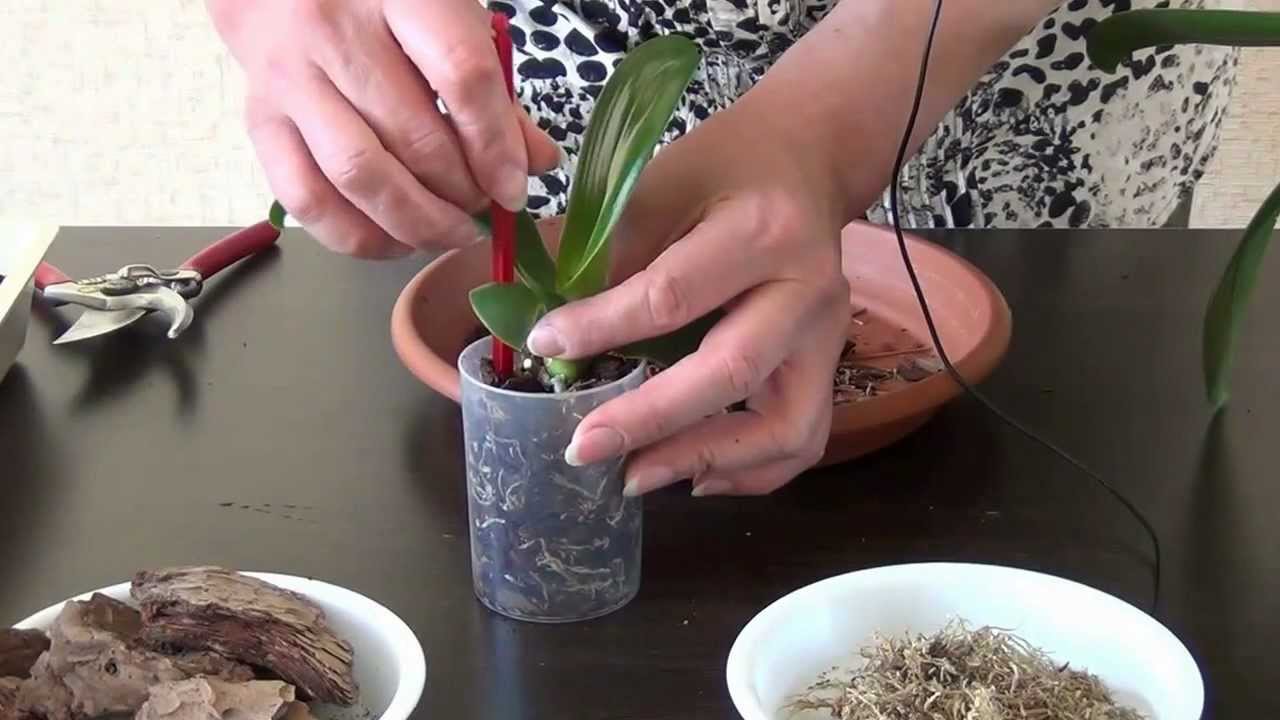
Transplant principle
If the planting is carried out in accordance with this algorithm, then the orchid will take root without problems and will not get sick in the future.
Possible transplant difficulties
In the process of transplanting, a lot of problems can arise that are associated with removing a plant from an old container; it is also difficult to choose a pot.
There are other difficulties as well:
- First you need to choose the right pot. There are many mistakes here, since the orchid can be planted in a container with transparent walls.
- Sometimes it is difficult to remove the plant from the pot due to the overgrown roots. If the processes have grown through the drainage holes, then they must be removed, and then the container must be cut.
- Often, the root system requires correction - the removal of old and dead shoots. When choosing the bad parts, it is important not to be mistaken. If you remove a lot of living rhizomes, then the plant will die.
- Pretreatment of the plant, substrate. Choosing the right soil. The amount of soil should also be limited - you do not need to cover the root completely.
Post-transplant care
To grow an orchid, you need to take good care of it. The flower is not like other indoor plants, since it comes from the tropics, therefore, it is better to choose another principle of cultivation.
In the process of growing, you should pay attention to the following nuances:
- Observe the mode and method of watering.
- Feed the plant during the growing season.
- Prepare the right soil and collect a quality substrate.
- Monitor the condition of the stem and root.
Transplanted orchid care
Additionally, it is worth regulating the temperature regime. The plant should not be exposed to too much direct sunlight. In general, you need to create a tropical climate for the flower.
Watering
It is especially difficult to monitor the water balance of the plant and to water it correctly. If there is too much water, then the roots will begin to rot, so the standard watering procedure should be modified:
- Collect room temperature water in a bowl.
- Place the flowerpot in the container for 15 minutes.
- Remove the flowerpot and place it on a towel. Excess moisture should be absorbed by the fabric.
- Make sure the towel has completely absorbed the moisture through the holes in the bottom before placing the pot in the tray.
Top dressing
In order for the plant to develop a normal leaf mass, flowering occurs every year and children appear for planting, it is worth periodically "feeding" the plant with fertilizers of various classification.
For feeding, you can use a variety of fertilizers:
- organic;
- mineral;
- to accelerate growth.
Plant feeding during growth
Each type is used in accordance with a specific instruction for doses and periods of fertilization. But the most popular option is mineral fertilizers, since they contain a lot of minerals and vitamins necessary for the orchid.
In any case, the dosage for the flower should be 1/10 of the standard. The timing of "feeding" is determined by the size of the plant and the growth conditions. It is advisable to apply a certain type of fertilizer during the flowering period, and a week after another type of substance. Further schedule of "feeding" depends on the state of the flower.
The soil
Many problems in the process of caring for an orchid arise if the wrong substrate for the plant is prepared. Newbie flower growers use ordinary soil for flowers at all. In fact, the orchid belongs to the epiphytic family, therefore, by its nature, it should be attached to the wooden support with roots.
Extraction from old soil
You can plant a plant in purchased soil. A floriculture store may offer several options, but it is better to prepare the substrate yourself. It is necessary to mix in equal proportions dry, finely chopped parts of the bark and pieces of moss. Pre-soak the ingredients in flower antiseptics to remove pests and insects.
Orchid is a very beautiful and unusual flower that requires proper care during growth and transplantation. You need to know how to plant a baby from the mother bush without harming the second copy. Preparation and further actions significantly affect the condition of the plant. Proper care will help the orchid develop into a full flower after transplanting.