How to transplant an orchid: step by step instructions at home
Content:
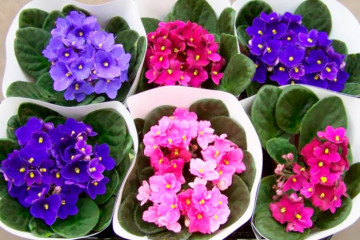
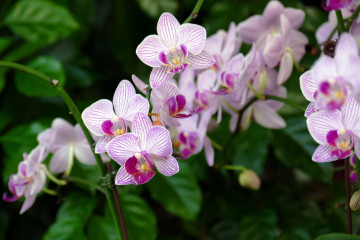
The primus of flower shops, phalaenopsis orchids, cymbidium or dendrobium, have firmly won the hearts and windowsills of plant breeders. However, getting into a house or city apartment, a flowering plant can wither without a timely transplant. But how to transplant an orchid correctly? After all, disturbed flowers can hurt for a long time and even die.
The main reasons for transplanting an orchid
The orchid is not always transplanted. This requires certain conditions and reasons:
- rotted, worn out soil mixture;
- the pot has become too tight for overgrown roots;
- a baby has developed on the mother plant;
- decay of orchid roots due to excessive watering;
- infection of the substrate with fungal diseases or pests.
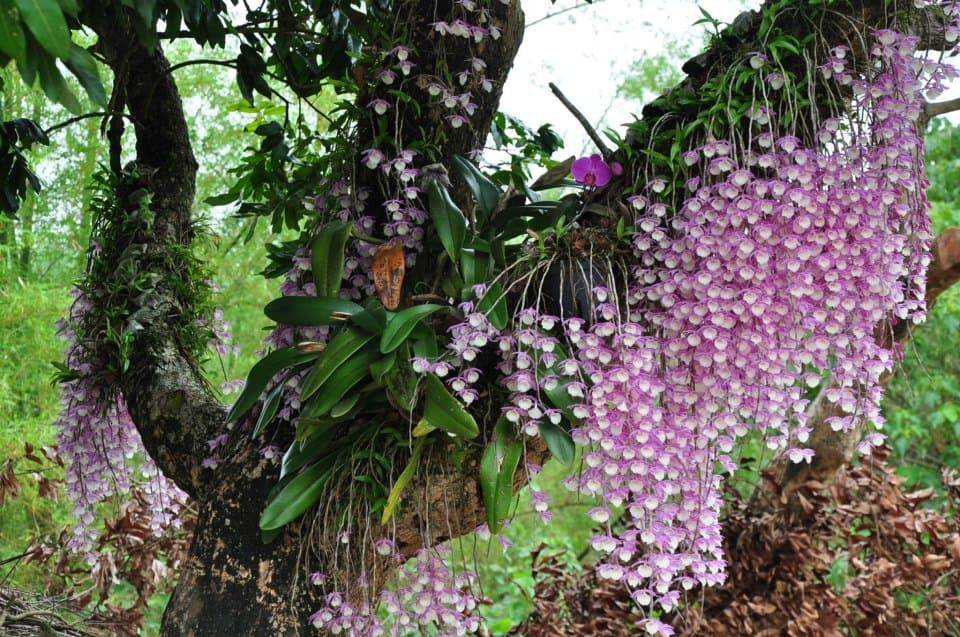
Orchid in nature
Transplanting an orchid is a serious business. You cannot disturb the plant with this process, simply because you so wanted. This can seriously harm the flower.
When to transplant
Indoor plants should be replanted according to the natural cycle. With the arrival of spring, their rest period ends. Orchids gradually enter a phase of active growth - vegetation. This process makes it possible to painlessly relocate indoor flowers, without fear of losing or delaying luxurious flowering.
The need for phalaenopsis and arboretum orchids for soil replacement is, on average, once every 2-3 years. The term depends on the qualitative composition of the soil mixture. The substrate, which consists mainly of moss, is depleted faster. In this case, the orchid is transplanted after 1.5-2 years. The bark contains significantly more nutrients, so the shelf life of such soil can be extended up to 3 years.
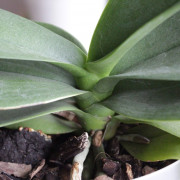
The signal to change the "place of residence" is the aerial roots, which are looking for support, towering above the tank. The roots of an orchid nestling in a cramped container do not receive the required amount of nutrients.
Transfer in winter
With a decrease in daylight hours, metabolic processes in any plants gradually slow down. The flower enters the resting phase. It is not advisable to disturb the plant during this period. It is necessary to transplant it from November to March only in case of emergency.
The root color of a healthy orchid is light green. If the color has changed, turned gray or brown, some roots dry out, this means that the plant needs root inspection and, possibly, treatment.
There are often cases when pests of indoor plants settle in a pot or spores of a fungal disease develop. It is not enough to treat only the aerial part of the plant with medicine. To get rid of pests, you need to act like this:
- The flower is removed from the planting container.
- Examine the roots, cut off the rotten, diseased and dried.
- The plant is treated with a fungicide or insecticide preparation, depending on the lesion.
- The sections are disinfected (phytosporin, foundationazol), the sections are powdered with crushed charcoal.
- The flower pot is disinfected, the drainage is changed if necessary.
- The soil for planting is replaced with a new one.

Dendrobium Orchid
Transfer after purchase
For the first time, a flower is transplanted after purchase. The transport containers for plants are too compact, they are designed for short-term storage. Roots in containers quickly displace the soil and grow through the drainage holes.
For adult large plants, disposable containers are dangerous because of their instability. They can easily roll over, break a peduncle or damage a rosette with leaves.
Transplanting a blooming orchid
You should not transplant a blooming beauty without good reason. At the time of flowering, all the forces of the plant go to nourish the flowers, therefore, careless trauma to the root system can result in a long illness and even the death of the flower.
Transplanting a flowering plant is justified only in the following cases:
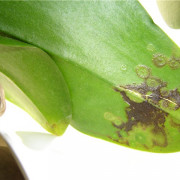
- disease lesions (phyllostictosis, leaf deformation);
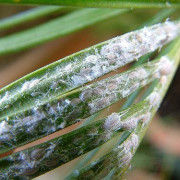
- the spread of pests (mites, thrips, worms, nematodes, bedbugs)
- decay of roots due to stagnant moisture.
In case of a forced transplant:
- Peduncles are shortened by 2-3 cm.
- To less traumatize the roots, the plant, along with the pot, is soaked in warm water for half an hour. You can use a bucket or a tall basin, the water should cover the container with roots by 2/3 of its height.
- If the roots fill up the plastic pot, gently break it open and remove it, taking care not to damage the roots.
- The roots are examined, if necessary, pruning is carried out, the sections are disinfected.
- If the reason for the transplant is a disease or pests, the rhizome can be kept in a bath with a solution of the required drug, and the leaves and peduncles can be treated with a spray bottle.
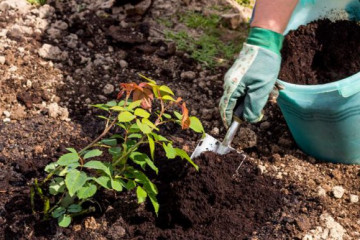
You need to plant the plant in clean soil, having previously processed the planting container.
Sanitary pruning
Home transplant
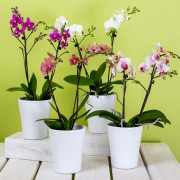
Inexperienced hobby growers are advised to plant orchids in transparent plastic pots. They make it easier to monitor the condition of the roots and the need to water the plants.
Pot selection
Interestingly, they live best in containers made of plastic. Glass pots are poorly ventilated and can heat up quickly. Ceramic orchid root pots are traumatic. When removing a flower from a clay container, you can find roots adhered to the walls.
An ideal orchid pot should be well ventilated and prevent overheating of the roots. Drainage holes are required, since the orchid does not tolerate root locking.
To remove excess moisture, the bottom of the pot is laid out with a 5–7 cm drainage layer. For this, use small pebbles, sand, crushed polystyrene.
Soil selection
Regular orchid soil is not suitable.
A quality orchid mix consists of:
- crushed pine (spruce, oak) bark;
- peat moss (sphagnum);
- peat;
- charcoal;
- fern roots, its leaf humus;
- shredded foam
You can prepare pine bark for orchids with your own hands:
- Peel off the pine bark from the fallen tree. Wet, with signs of rot in this case will not work.
- The harvested bark is cleaned of foreign particles, crushed. The optimal fraction is 1.5–2 cm. For large plants, the size of the pieces can be doubled.
- Disinfect the bark with an insecticidal solution. This is necessary so as not to transfer pathogens of fungal diseases or pest larvae from the dead tree. The bark is poured with a solution diluted according to the instructions and heated.
- Next, the bark is boiled over low heat for an hour under slight pressure so that it does not float.For boiling, you can use a galvanized bucket.
- The cooked bark is left to cool completely, after which the water is drained.
- The resulting raw material is left to dry.
Orchid in a cramped pot
Step-by-step transplant sequence
Since you will have to transplant an orchid at home every 2-3 years, it is worth acquiring suitable equipment, purchasing the preparations necessary for disinfecting and treating plants. To work with the roots, you need medium-sized sharp scissors or pruning shears. The tool must be sharp, before use it must be disinfected, and after work - cleaned of plant particles.
For disinfecting the plant, you can use bio and chemical preparations, a solution of potassium permanganate (potassium permanganate) and activated carbon tablets.
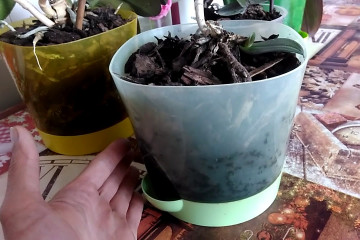
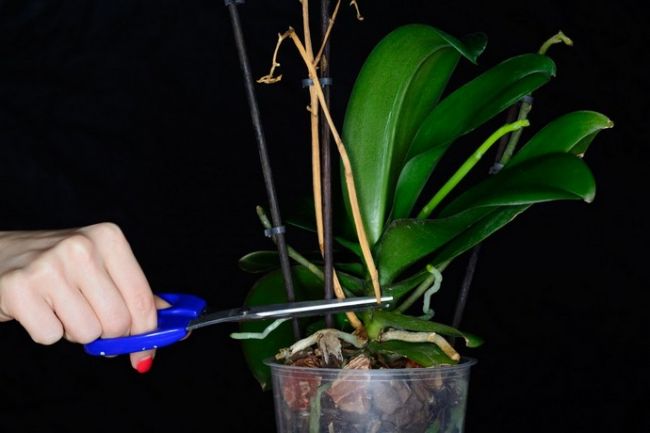
Since one of the key tasks is to transplant the orchid at home and not damage the roots, the soft planting container is removed with scissors.
Orchid planting is carried out as follows:
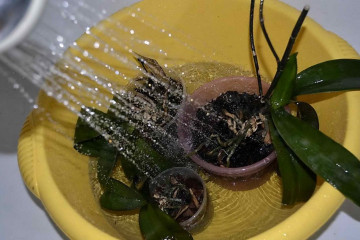
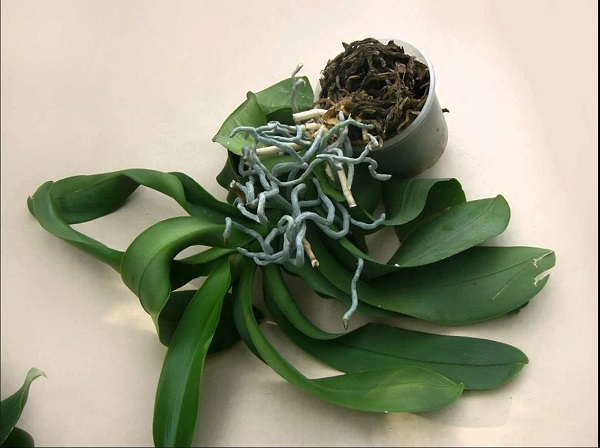
- The root system is cleaned of old soil under running water, and an inspection is carried out.
- Dried, rotten and darkened roots are removed with a sharp garden tool.
- If there are traces of parasite activity on the root part, the root is immersed in settled water for 3-4 hours before planting. After the orchid is laid out on a napkin for drying for 6-8 hours.
- In order to prevent the spread of possible pests, infections, the plant is treated with antifungal and insecticidal drugs.
- Places of cuts on the roots are treated with antibacterial agents.
- The prepared flower is placed in the center of the pot, gradually filling up the soil so that there are no voids between the roots, the pot is shaken from time to time, but not rammed.
- It is not necessary to cover the upper part of the rhizome with a substrate; the root system must have access to air.
After planting, you need to provide the plant with good care.
Further care of the flower
For acclimatization, the orchid is kept away from sunlight for 7-10 days. Windows are best suited for placing orchids, where there is enough light, but direct rays are dangerous for them. Orchid leaves are burned by direct exposure to ultraviolet radiation.
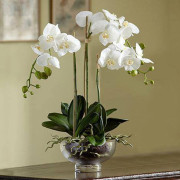
Phalaenopsis orchid
Watering and soil
The plant can be watered after planting in 4–5 days. Water for irrigation is defended or boiled. The container with the plant is immersed in prepared water for 30-40 minutes. Thus, the plant receives the right amount of moisture every two weeks.
Temperature and humidity
The room where the orchid lives should not be dry and hot, the optimum temperature for these flowers is 20-23 ° C. Orchid leaves are gently wiped off with a damp cloth or sprayed with a spray bottle. The main thing is to prevent the accumulation of liquid in the outlet.
Top dressing
The first time orchids are fed a month after transplanting. Complex organic and mineral fertilizers are applied every 20-25 days.
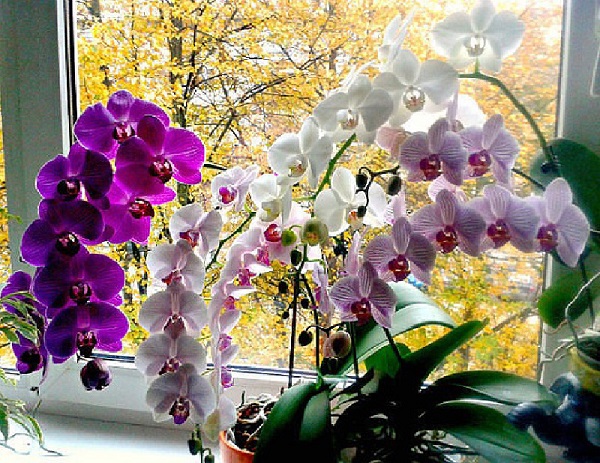
Keeping an orchid at home is not at all difficult; in gratitude, the tropical beauty will delight for a long time with exquisite bunches of flowers. And if you know how to transplant orchids at home, you can extend the life of these beauties.